Starlink Standard Backpack Review
The Starlink Standard Backpack is an official accessory that fits the entire Starlink kit into a backpack, allowing for safe on foot transport.
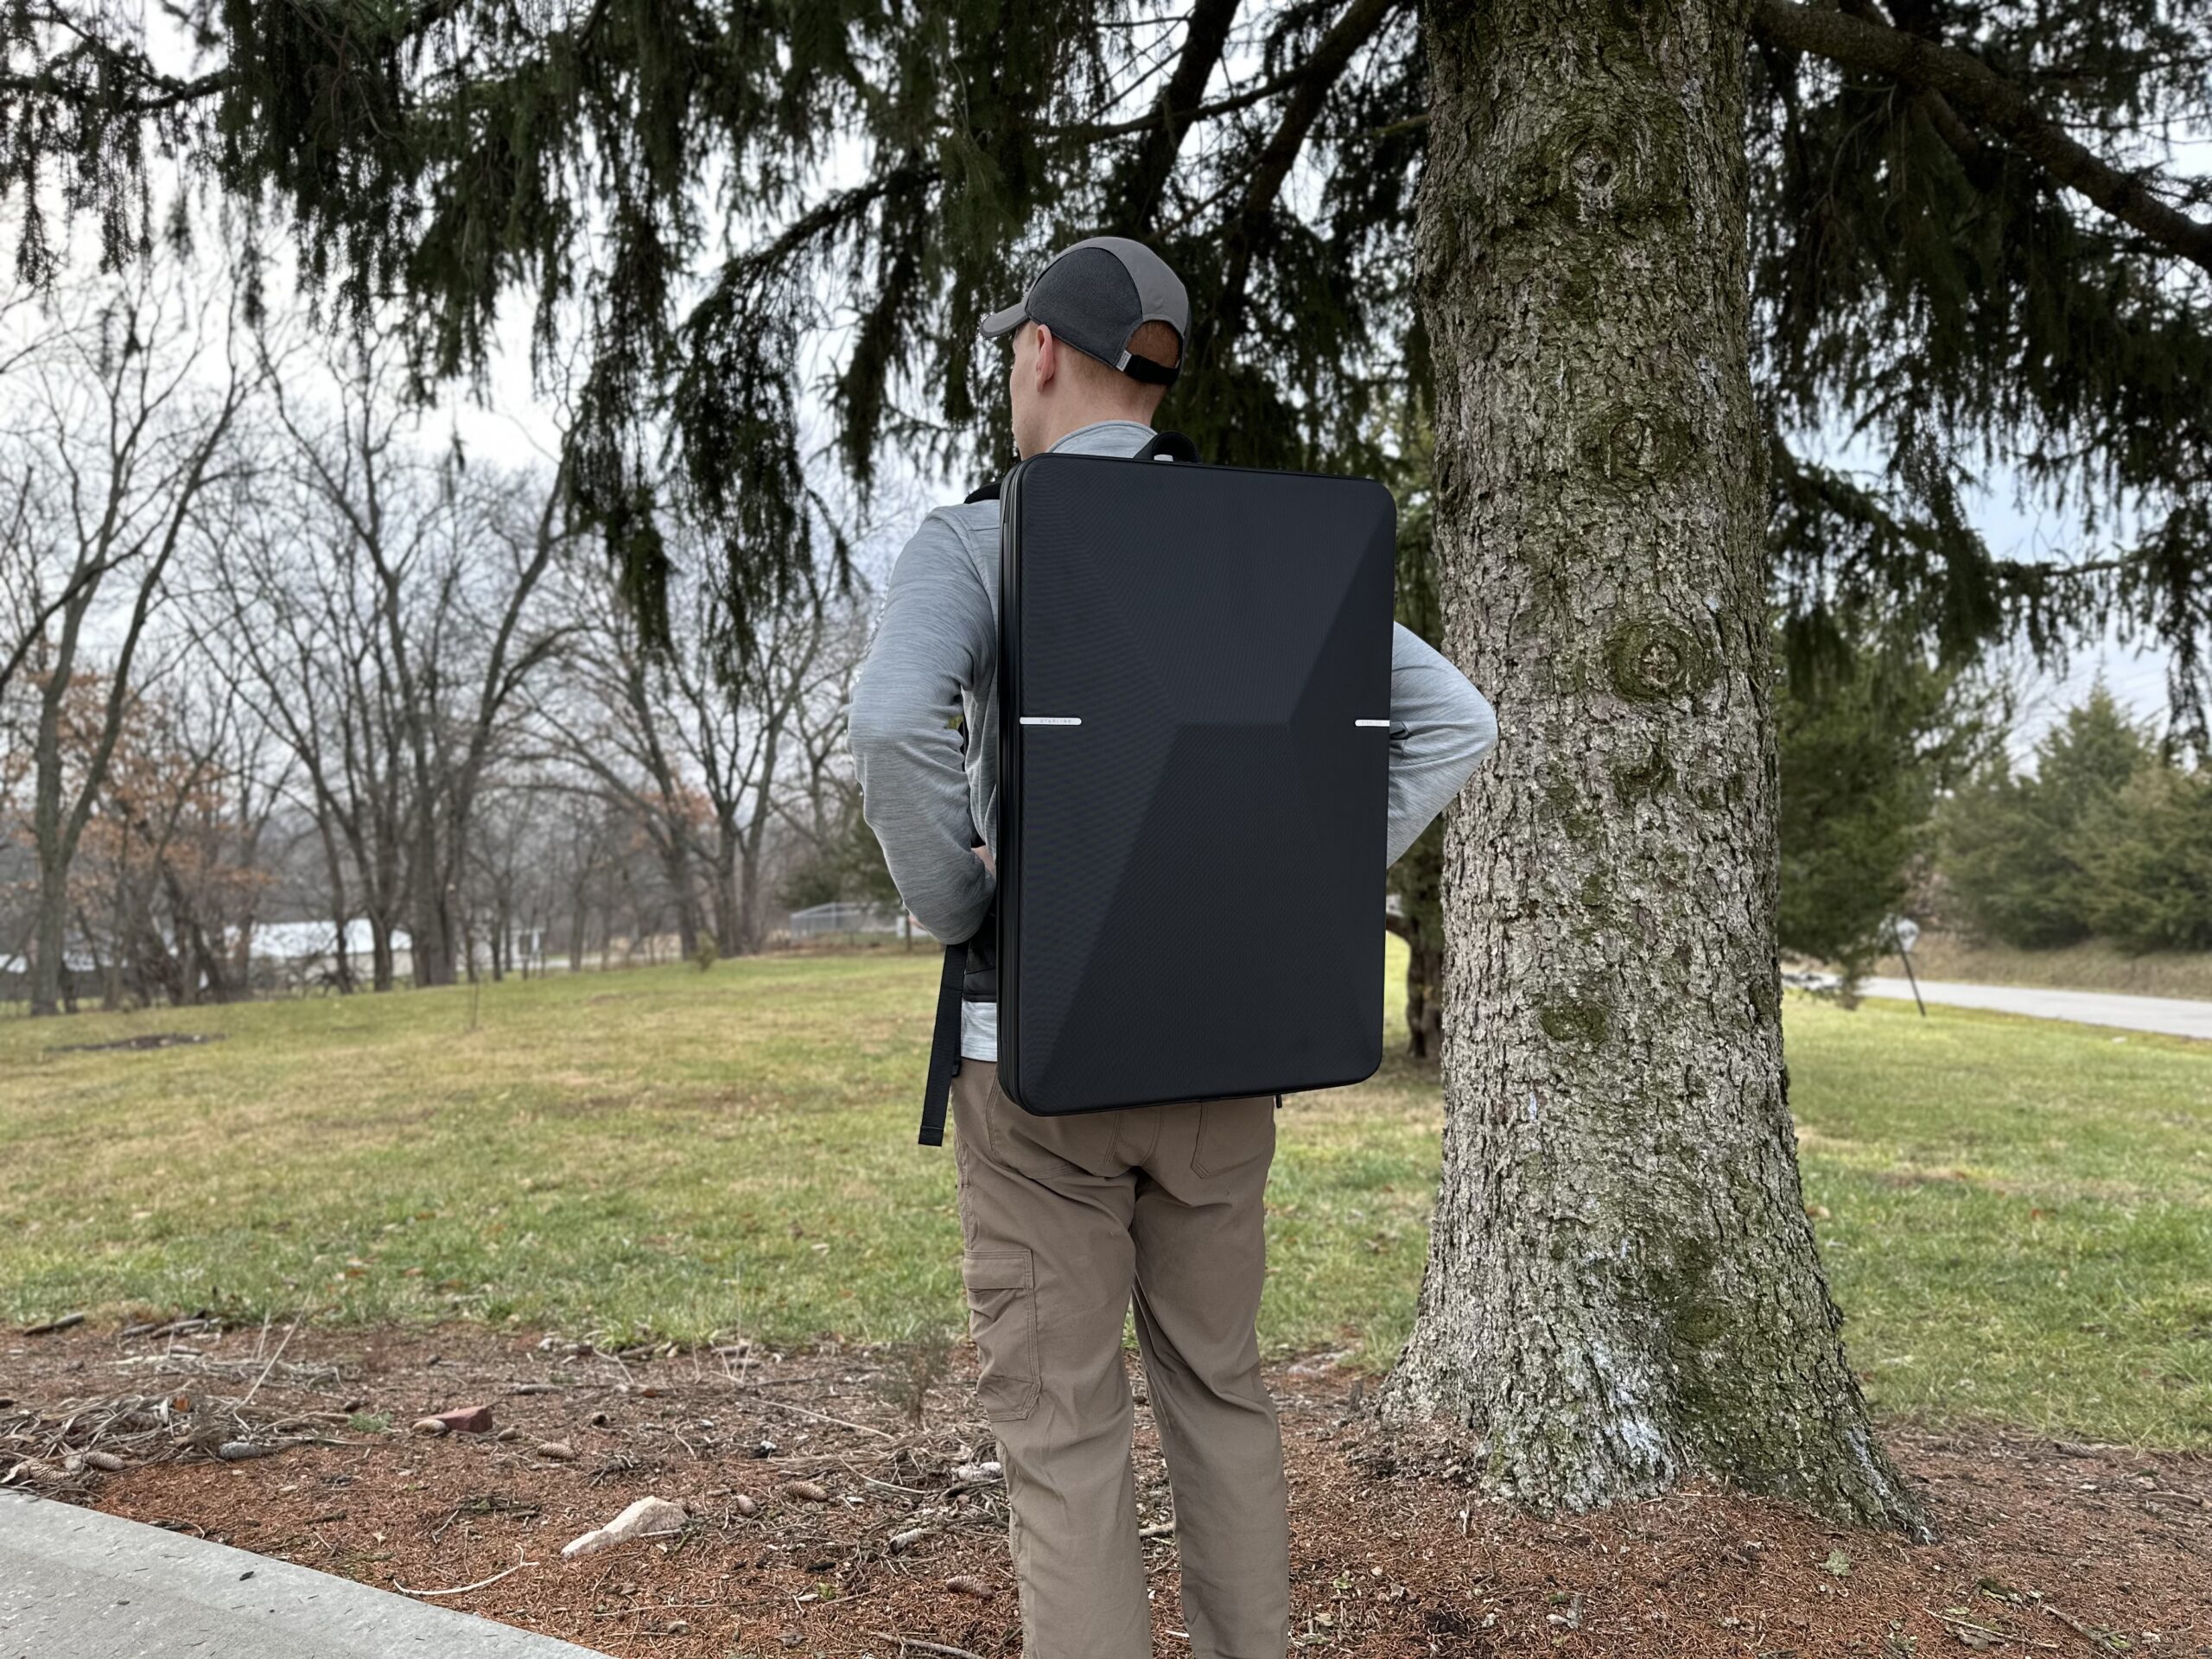
Starlink’s backpack accessory for the Standard Gen 3 dish is an aesthetically pleasing way to transport your system on foot. It fits everything from the Starlink kit, with additional space for a laptop.
Doesn’t it give off some serious Star Wars vibes!? I bought it solely for the looks, but I did put it through my product review process. In this post I’ll share my impressions of the Starlink Standard Backpack, letting you know the improvements from the original version, and also how it doesn’t make any sense as an accessory for the Standard.
Overview
The “Standard Backpack” is an official Starlink accessory that you can purchase from their online shop for $199. It’s compatible with the Gen 3 Standard dish, and is designed to organize all the components from the hardware kit for easy transport. Other cases are designed primarily for storage, but Starlink designed this as a backpack so you can carry your kit on foot.
It’s a pretty large backpack, measuring 26.4″ tall, 17.5″ wide, and is 6.7″ thick. It weighs around 10 lb., and that doesn’t include the actual hardware you would put inside the backpack. Much of that weight is due to the hard shell outer case and beefy shoulder straps. On the inside there are segmented storage areas with lots of foam to keep everything from shifting around.
The exterior of the Standard Backpack is advertised as a “rugged exterior shell”. I wouldn’t necessarily use the word rugged, but it is a hard plastic with a textured coating. It’s tough in the sense that it will protect your Starlink from damage due to drops, but I found the shell easy to scuff and scratch just from normal handling for this review. The backpack is water resistant thanks to the zipper covers.
The only color choice is matte black, which fits the Starlink aesthetic. It has some white accent pieces with a Starlink logo on the back.
Packing the Starlink Standard Kit
Instructions for how to pack up your Starlink kit are included, even though it might seem easy with the specific compartments. It’s kind of a puzzle at first, but just follow the steps. Starlink wants you to plug in all the cables to the router before placing the components inside the backpack.
The idea is that you will be able to quickly deploy Starlink because all the connections are made in advance. You just need to plug in to power and set up the dish in an open area. The rest of the hardware can remain in the backpack, protected from the elements.
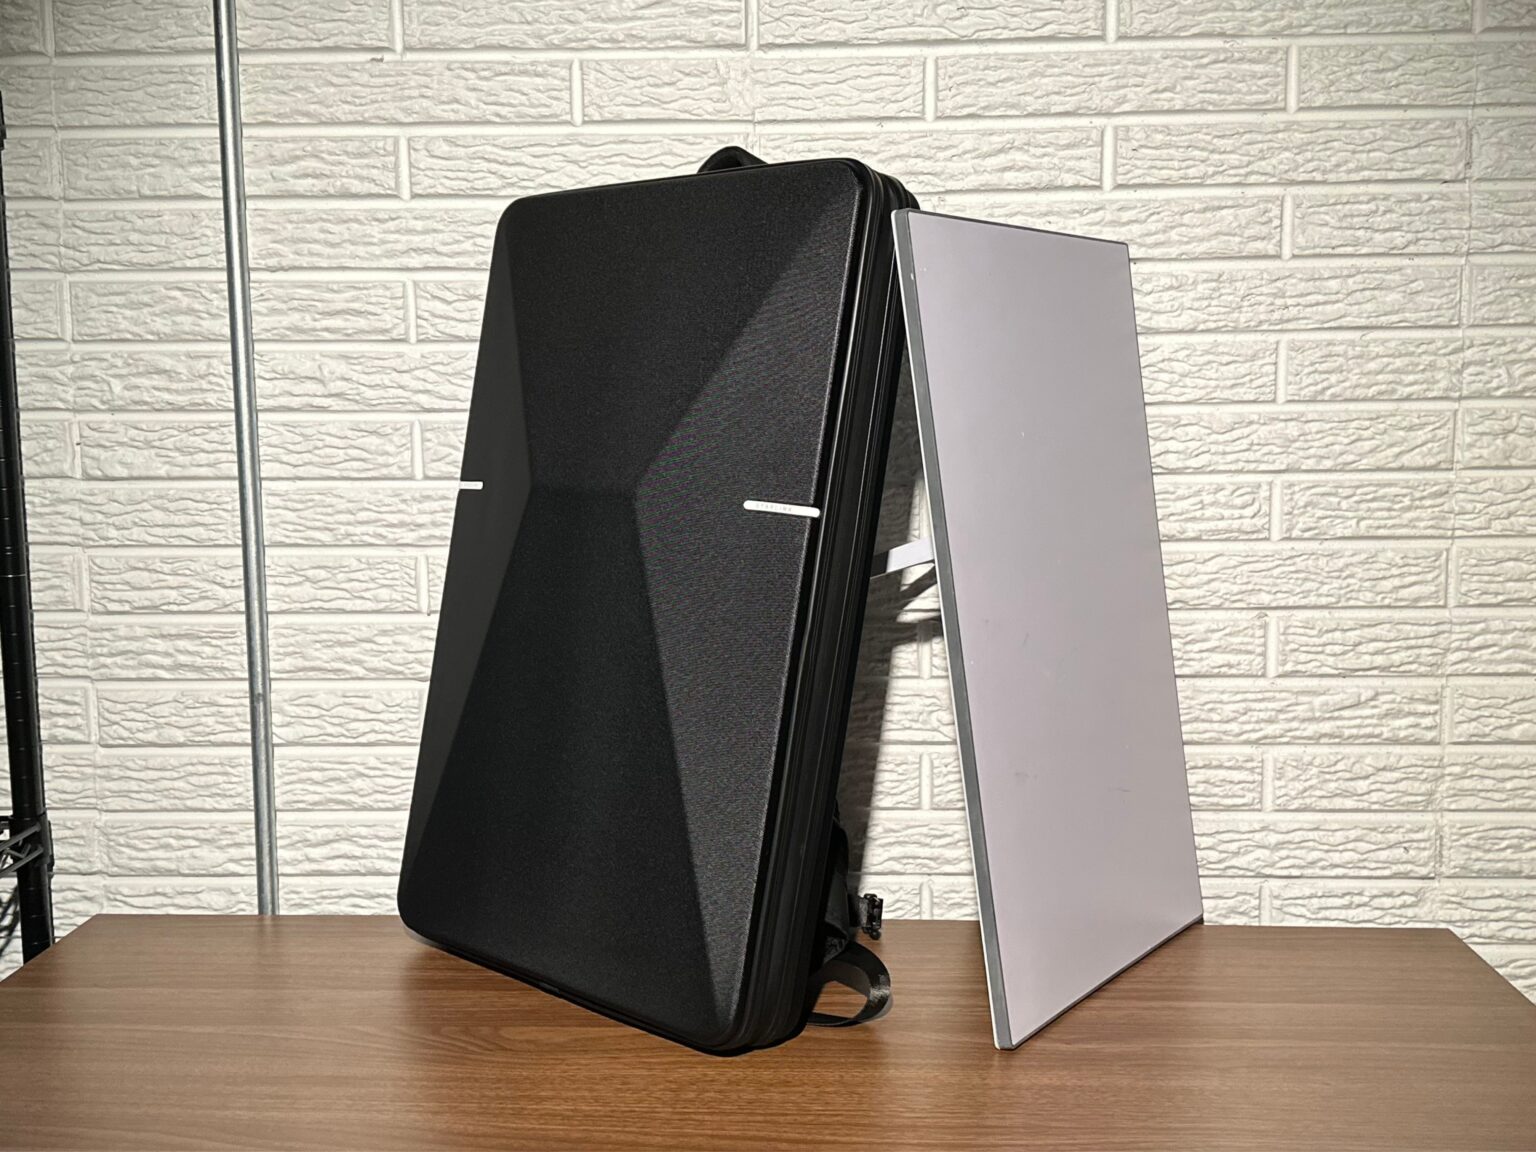
When you unzip the backpack it opens like a book, exposing various compartments that are designed to tightly fit each part of the Gen 3 Standard kit.

The left half is where you store the Starlink dish. A thick layer of hard foam protects the antenna from damage. It’s held in place with a zippered partition that has the Starlink logo printed near the bottom.
The right half has compartments for the Gen 3 Router, power supply, and cables. There is an additional storage pocket at the top where you can put your own stuff. It’s the perfect size for a 16″ laptop. Magnetic flaps keep everything in place and neatly organized.
Interestingly, Starlink includes a short 5m (15 ft.) cable for the dish. The regular 15m cable that comes with every Starlink kit will not fit in this backpack, it’s too long. The area where you spool up the included 5m cable won’t be able to accommodate longer cables.
Deployment
Once you have all the components installed in the Standard Backpack, deployment is fairly straightforward. There are magnetic flaps covering the Starlink cable and AC power cord. You just unzip the backpack, grab the antenna, and route both cables through the slots in their respective covers. You can even zip the pack back up, leaving just enough for the cables that will stick through.
The backpack isn’t designed to allow the dish to operate while still installed. Many other cases, like the one I used in my Starlink Mini Emergency Backup Kit, are RF transparent. The satellite signals can pass through without any issues. Starlink oriented the dish storage pocket in a way that doesn’t easily allow this. I suppose you could unzip the backpack and leave it open like a book, facing up so the dish could see the sky. But then you don’t get any protection from the elements.
Previous Version Improvements
This isn’t the first Starlink backpack. Starlink offered one for the Gen 2 Actuated dish called the Starlink Travel Case. I’m happy to report Starlink has made a ton of improvements over the first iteration.

For starters, the fit and finish of the Standard Backpack are much improved over the previous version. From the outside shell to the interior compartments, everything fits well, looks high quality, and just works as intended. The inside of the previous backpack was hard foam, didn’t feel very nice, and just had a cheap look to it.
Another improvement is the backpack strap system. Although they still aren’t removable on the new Standard Backpack, the shoulder strap padding and width have been increased. There are additional storage pockets, plus an added hip belt. In my opinion as an avid backpacker, the hip belt is crucial for carrying the weight of the Gen 3 Standard kit in this backpack over long distances.
My Review
Is this Starlink backpack a novelty collectable or a serious Starlink case? Here are my initial impressions:
What I Like
The Standard Backpack just looks so cool, that’s the main thing that convinced me to buy it. It looks like something you would see in the original Star Wars trilogy. It’s the angles, the colors, and just the general look and feel of it. The aesthetics carry over into the inside with the neat magnetic compartments and matte black finish.
For its purpose as a storage and transport case, the Standard Backpack is adequate. It fits all the components of the Standard kit, plus some additional space for a laptop or tablet. I really like how everything has a home, and the interior remains neat and clean looking with all the covers shut.
As a backpack, I found it to be suitable for longer hikes. The addition of a hip belt to this version of the Starlink backpack really helps. A hip belt helps transfer a lot of the load to your hips, preventing your shoulders from getting tired and sore on multi-mile hikes. The beefy shoulder straps and sternum strap are adjustable so you can fit it nicely on your back for a comfortable carry.
What I Don’t Like
The biggest problem with this Starlink backpack is that it’s intended for the Standard dish. I just can’t wrap my head around why Starlink chose to focus on a backpack for the full-size dish rather than the Starlink Mini. After all, Starlink literally markets the Mini as being able to fit inside a backpack. If you’re going to haul around a Starlink on your back, it’s should be the Mini. It’s less than half the size and weight of the Standard, with much of the same performance.
Another issue with the Standard Backpack is that the shoulder straps are not removable. I said this in my review of the previous version as well. I can understand getting this backpack to use as a storage case for your RV or vehicle rather than just as a backpack for transporting Starlink by foot. But as a storage case, you don’t need shoulder straps getting in the way. I wish Starlink made them removable so this backpack was more versatile.
There is a final issue I wanted to bring to your attention. If you are going to use this backpack to transport Starlink on foot, keep in mind you will need to power it somehow. Assuming you will be hiking in remote areas, you likely won’t have access to an AC wall outlet. That means you’ll need some type of generator or power bank that you carry separately from the backpack. Although it has an accessory compartment, it’s really only big enough for a tablet or laptop.
This post may contain affiliate links. See our policy to learn more.
Alternative Starlink Case
With the pros and cons out of the way, I think it’s a good idea to offer an alternative to the official Starlink accessory. One that addresses many of my complaints in this review so far.
If you don’t care about having backpack straps, I recommend the Stargear Travel Case as an alternative to consider. It has much of the same functionality. You can fit all the components of the Gen 3 Standard kit inside, including the 50′ cable that you can’t fit in the Starlink backpack.

#CommissionsEarned
What I like about the Stargear case is that it’s better as just a storage case because it doesn’t have backpack straps. It does have a carry handle and a sling strap, so it is still useful for carrying Starlink for short distances. The downside is that it only comes in a black/white camo pattern, which isn’t my style.
Final Thoughts
Overall, I think the Standard Backpack is great for Starlink fans who want a novelty accessory that can be useful for storing or transporting the full-size Standard kit in certain situations. It has a cool aesthetic to it, and does a decent job of being a backpack. But for everyone else, where functionality matters the most, there are better options.
The big thing I’m struggling to understand is why Starlink decided to release the backpack for the Standard dish rather than the Mini. In my opinion, a backpack for the Mini would sell a lot better. Since the Mini is smaller and uses less power, you could fit the Mini kit, a portable power bank, and a laptop in a backpack that is still smaller and lighter than the Standard Backpack.
What do you think? Would you ever carry the Standard dish on foot versus the Mini?
I have bought a starlink kit but need some help to set it up . Is yhere a U tube video somewhere ?.
Is there a phone number for a technical support department please
Regards,
Brian
I have an install guide here: https://www.starlinkhardware.com/starlink-setup-and-install-guide/
Starlink doesn’t have a phone # for basic tech support, but they do have an online ticket system if you need help.
Can you power the Starlink mini using the DC plug and adaptor in the Tesla Y, Or by using a DC/AC inverter plugged into the DC Plug?
Is a backpack for the Mini being developed?
Yes the Mini can be powered from a 12V car outlet with the Starlink car adapter accessory. Starlink hasn’t said whether or not they are making a Mini backpack, but I would like to think they would. After all, they advertise it as being able to fit in a backpack.
I have a Gen2 dish and the Gen2 backpack. I really like the Gen 2 backpack because it protects my hardware while we’re off-roading. Once we find an overnight spot, out comes the backpack and the Gen2 dish gets deployed.
Is the Gen2 backpack useable as a backpack? Not really. It’s well made, but bulky. I don’t think I’d want to put it on my back and hike somewhere in the wilds….besides there is no 120 volt power in the wilds.
But Starlink’s backpack is a well-designed method to safely transport the dish and accessories. If you look at it from that point of view, the backpack make absolute sense.