
How To Set Up Starlink Mesh
I show you how to add another Starlink router as a mesh node to expand Wifi coverage and performance throughout your home.

- Author
- Published
- Community
- 222 comments
If you're looking to improve the Starlink Wifi signal in your home, setting up a mesh network is the way to go. Mesh networks provide seamless Wifi coverage for large areas, and they are easier to set up than you might think.
Starlink has their own mesh system if you want a plug and play solution. If you need additional features and performance, you can also use a 3rd party mesh system with Starlink.
In this guide, I'll show you how I set up Starlink mesh in my home. I will explain the different types of Starlink mesh routers and how to pair them. I will also cover using a 3rd party mesh system with Starlink.
How To Set Up Starlink Mesh
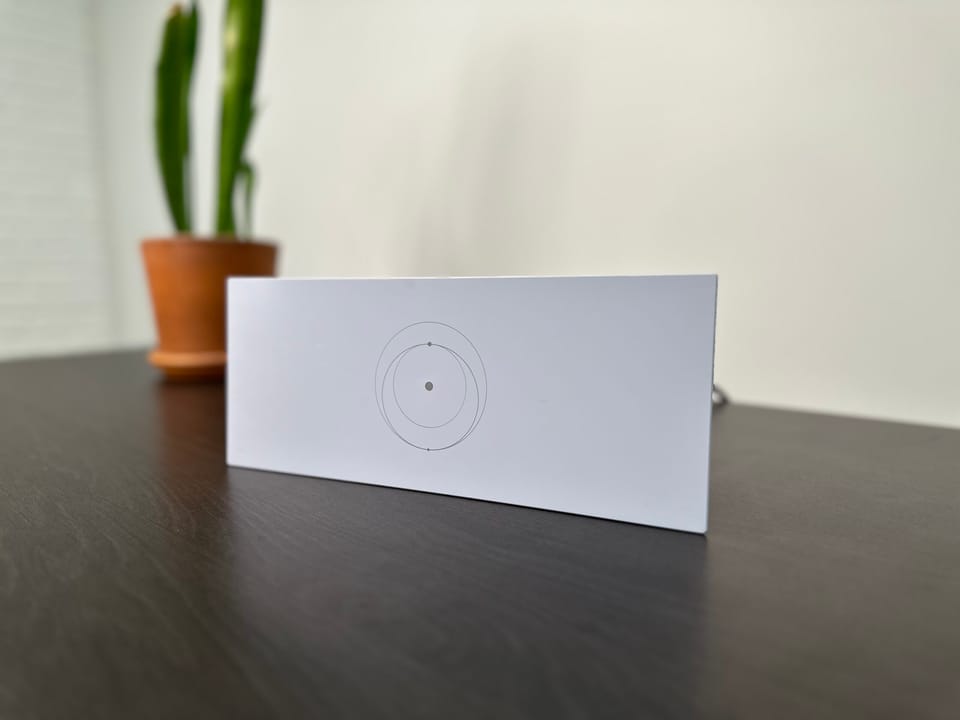
Every Starlink hardware kit comes with a main router. You can build a mesh network by adding additional Starlink routers to your network. The routers connect together wirelessly, making the setup process a breeze.
I have three floors that I need to cover with Wifi. My main Starlink router is located in the basement, so the Wifi signal on the top floor wasn't great. I chose to purchase an additional Starlink Gen 3 router to pair as a mesh node. It cost me $199, and now I have perfect Wifi coverage anywhere in my home. Here is how I set it up.
Step 1 - Find a Good Spot
Your mesh system will only perform well if you place the mesh nodes in good spots. I found that the best way to find a good spot is to first identify where you have a weak Wifi signal.
Run a speed test on the Starlink app standing near your main router. That's your baseline speed. Move around your home and run speed tests in all the rooms. The further you get away from the main router, the slower the speeds will be. If you find an area that gets slow speeds, like below 20 Mbps down, that's a good indication that the Wifi signal is too weak.
To cover weak areas, try to place a Starlink mesh node halfway between the main router and the spot with the weak Wifi signal. This allows the mesh node to get a high quality signal from the main router so that it can provide good speeds in its own coverage area.
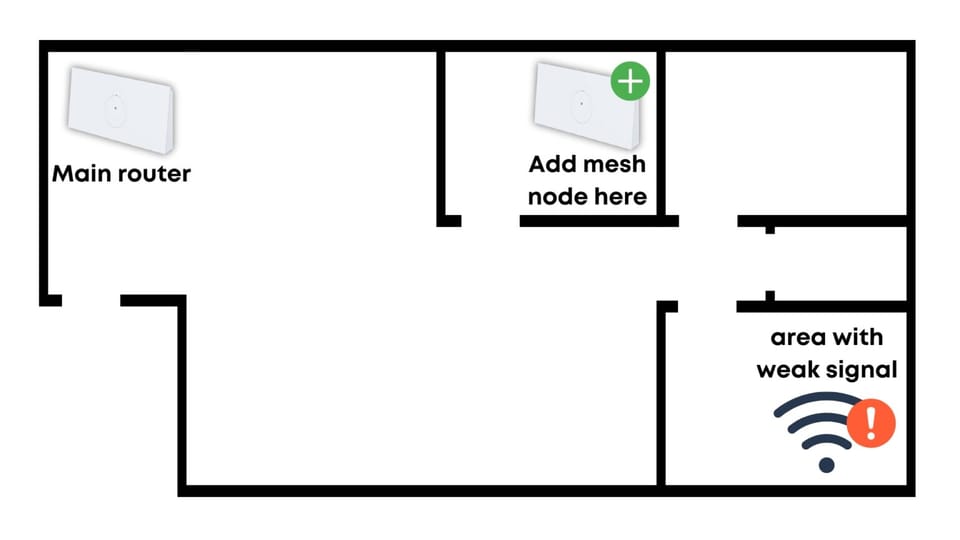
Starlink mesh nodes connect back to the main router wirelessly, but you still need a power outlet nearby. My main router is located in a corner of my basement, so I chose to place my Starlink mesh node near the center of my house on the main floor. That's about halfway between the main router and the opposite corner of the top floor.
Step 2 - Use the Starlink App to Pair the Mesh Node
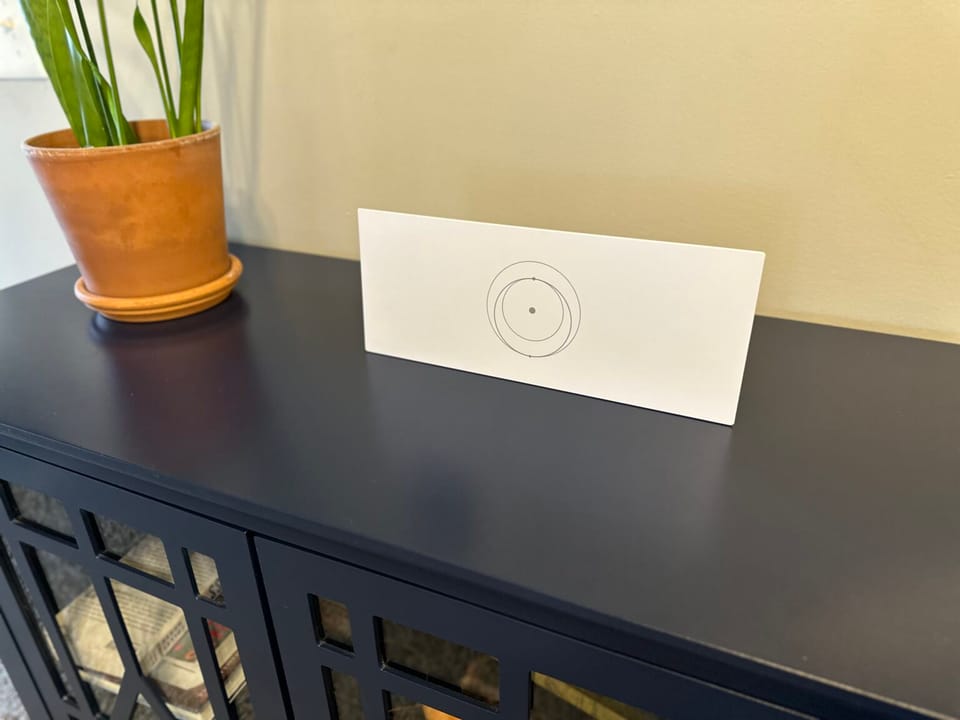
Plug the Starlink mesh router into a power outlet and give it a few minutes to boot up. In the meantime, grab your phone and make sure you are connected to your Starlink Wifi network. Open the Starlink app.
After the mesh node boots up, you should get a notification on your phone to pair the new mesh node. You can also open the Starlink app to see the pairing request. Tap "Pair" to continue.
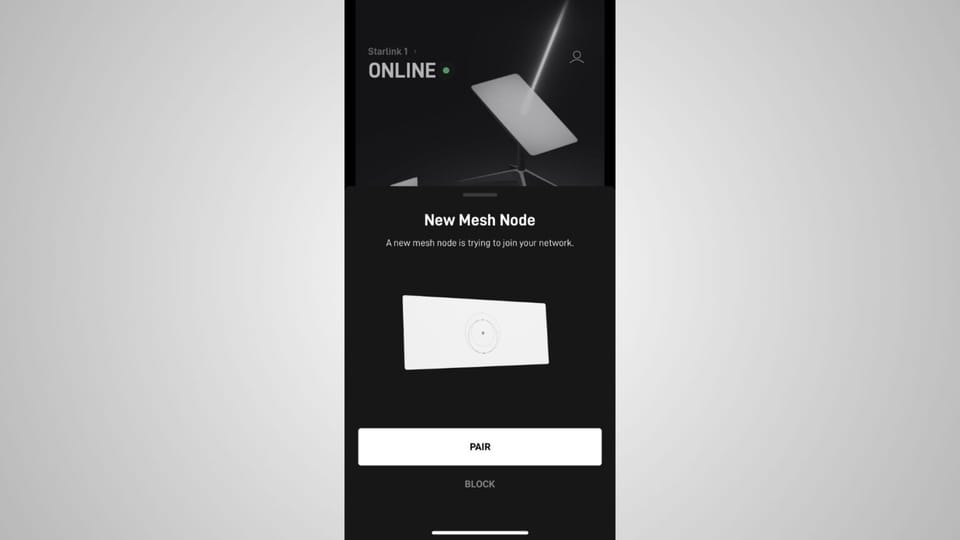
If you don't see the prompt, wait a few minutes for it to pop up. If you still don't get the prompt, make sure you are connected to your existing Starlink Wifi network, and not the new "STARLINK" Wifi network that comes online with the mesh node. You can also find the pairing menu under the "Network" section of the app, where you can view details about new, paired, or blocked mesh nodes.
Step 3 - Wait for the New Mesh Node to Connect
After you approve the pairing request, the new mesh node will take several minutes to connect. With a successful connection, you will see the mesh node in the Starlink app "Network" section.
Within the Network page, you can manage your Starlink mesh system. You can name each node, unpair, and more. You will also find a section to pair previously rejected mesh nodes. This is handy if you accidentally reject a pair request.
Your devices will automatically connect to the mesh node with the best signal. No further configuration is needed, but if you would like to review all the mesh settings, read my Starlink Router Configuration Guide to learn more.
Mesh Compatibility
You can use Starlink mesh routers with any Starlink dish model, provided the main Starlink router is Gen 2 or above. Starlink Gen 1 routers are not mesh compatible, however, you can purchase a Gen 3 router to replace the Gen 1 Router to get mesh functionality.
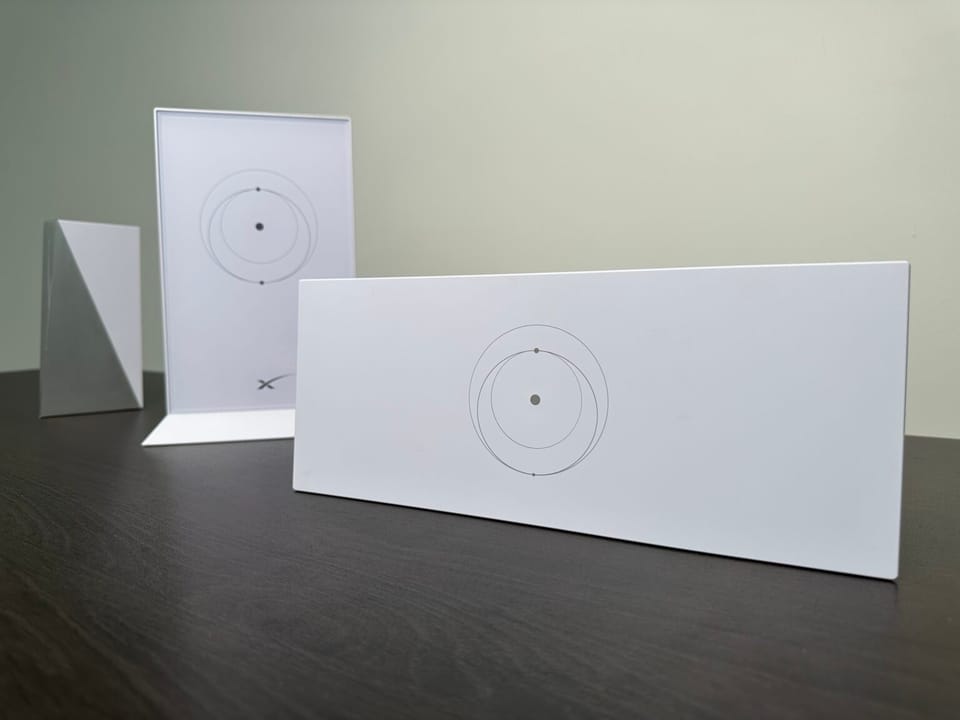
Gen 2 and Gen 3 mesh routers are compatible with each other, meaning you can pair a Gen 3 unit with a Gen 2 router, or you can use a Gen 2 mesh router with a Gen 3 system.
Setting Up a 3rd Party Mesh System
This post contains affiliate links. I may earn a commission from purchases made through these links, which helps support DISHYtech.
If you need advanced networking features or you already have a mesh system in your home, you can use a 3rd party mesh system with Starlink. Before upgrading to Starlink's Gen 3 Standard system, I used the Amazon eero Pro 6E mesh system with my Starlink Gen 2 dish.
To use a 3rd party router with Starlink, you need to install the main router next to your Starlink router. Using an Ethernet cable, connect the WAN or Internet port of your router to one of the Ethernet ports on the back of the Starlink router. Then turn on bypass mode in the Starlink app. For more help with connecting your 3rd party router to Starlink, check out my tutorial How to Bypass the Starlink Router.
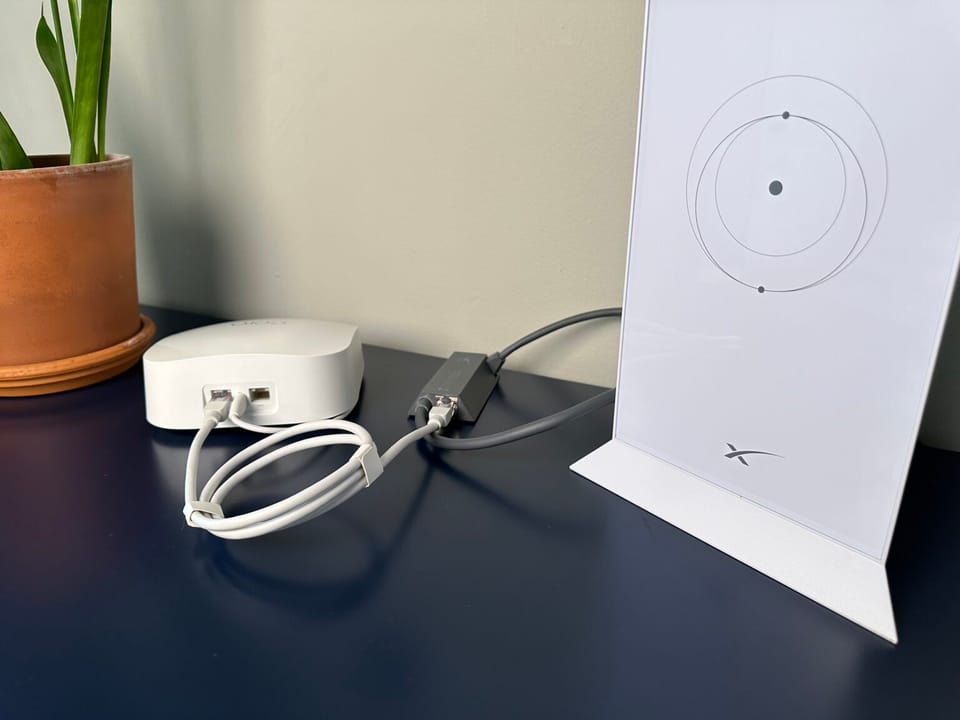
Follow Step 1 from above to find a good spot for a mesh node. Refer to the user manual for your 3rd party mesh system on how to install and pair additional mesh nodes. For my eero mesh system I just had to power on each mesh node and pair it with the eero app.
With the Starlink router in bypass mode, all your network and mesh settings are managed through the app of the 3rd party router.
Frequently Asked Questions
I recommend a maximum of 3 additional mesh nodes. Each router covers a pretty significant area, so even the largest homes should be fine with up to 4 routers. You can use more than that, but performance is reduced each time the Wifi signal has to jump from mesh node to mesh node.
If you see a yellow line going to one of your mesh nodes in the Starlink app, it means it has a weak signal to the main router. Consider moving it closer to the main router to fix the issue.
Wifi extenders are great for getting a signal to a specific room or small area. They work a little differently compared to a mesh system. Wifi extenders take your existing Wifi signal and repeat it on a new Wifi network. The Wifi extender doesn't coordinate with your main router at all, it's just another device that connects and re-transmits the Wifi signal.
Mesh systems are "smart" Wifi range extenders. They pair and coordinate with your main Wifi router to provide seamless coverage. Instead of adding a Wifi network with an extender, mesh nodes actually expand your existing Wifi network.
Mesh systems provide better performance and seamless transitions between nodes for your devices.
Yes, depending on which kind of Starlink router you have. Starlink Gen 3 routers support wired mesh. Instead of pairing wirelessly, you can pair mesh nodes via a wired Ethernet connection. Starlink Gen 2 routers do not support wired mesh.
Yes, the Ethernet LAN ports on each mesh node will be available to connect devices to. However, it's always best to connect devices to the main router if possible. Connecting devices to the Ethernet port of a wireless mesh node is not the same as a direct Ethernet connection since the signal has to go over Wifi anyway.
Final Thoughts
I hope this guide has answered all your questions about setting up a Starlink mesh system. Whether you decide to use Starlink's mesh routers or a 3rd party system, you'll enjoy better performance and improved Wifi range throughout your home.
If you have any additional questions, feel free to drop a comment below!

Discussion
222 Comments