Guide To Using A J-Mount With Starlink
Learn how to use an aftermarket J-mount with your Starlink dish. I review and install 3 recommended J-mounts.
J-mounts are commonly used for mounting satellite dishes, antennas, and other communication equipment. They can be secured to many types of surfaces, and in a variety of angles and configurations. Since they are available on the market from many different manufacturers and in different sizes, they are a great option for mounting a Starlink dish to your roof, eave, or wall.
The versatility of J-mount’s is great, but value is where this Starlink mounting solution stands out. Comparable mounts from the Starlink store can cost twice as much as the aftermarket options I will present in this guide. I will show you:
- Which aftermarket J-mounts work with Starlink
- How to secure the Starlink dish to the J-mount
- How to mount a J-mount to your roof, eave, or wall
I have included a video tutorial and review below, as a supplement for this post.
Video Tutorial And Review
Note: Some ad blockers will block our video player. If you don’t see the video, try disabling your ad blocker, and then reload the page.
This post may contain affiliate links. See our policy to learn more.
Which J-Mounts Work With Starlink?
In order to make your life easier, I rounded up three of the best Starlink compatible J-mounts on Amazon. I did the research to make sure they are compatible. I also made sure they were good quality, affordable, and have all the necessary features you would expect from a J-mount. Now, here are the options, starting with the top pick:
#1 Best J-Mount for Starlink: Proxicast Pro-Grade J-Max

The Proxicast Pro-Grade J-Max is a high-quality, rustproof J-mount, that is designed specifically to work with Starlink. With a mast length of 18 inches, this will suit a variety of installation locations. This mount is constructed of aluminum to provide maximum weather resistance compared to traditional steel J-mounts.
If you have the Gen 2 Standard Actuated dish, make sure you pick up the No products found. to make this J-mount plug and play. For other models, simply pair it with the Starlink Pipe Adapter. They also offer a pole extension if you need some additional height.
The mast on the Proxicast is reversible, meaning you can swap ends depending on your specific installation needs. One unique feature of this J-mount is the locking mechanism. You are able to lock the angle at -45, 0, and +45 degrees. If stability and strength are your top priorities, the Proxicast Pro-Grade J-Max is a great option.
#2 Runner-Up: Winegard DS2000A Universal 22-inch Mount
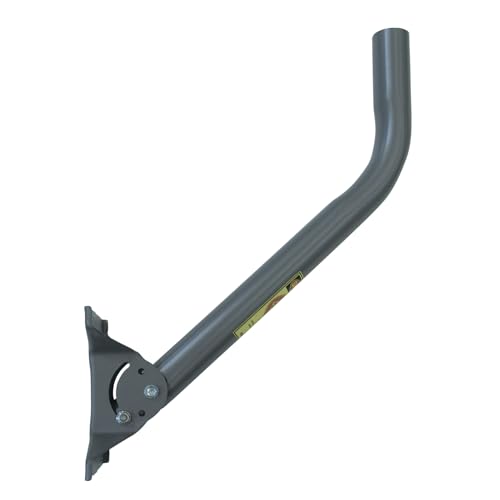
The Winegard DS2000A Universal 22-inch Mount is our runner-up pick for a Starlink J-mount. The things we like most about this pick is the weather resistant e-coating, and the included 2″ u-bolts that make it easy to secure to the Starlink dish mast . Like most J-mounts, it is fully adjustable.
The mast length is 22 inches. This is the little brother of the Winegard DS3000A. If you need a longer mast, go with the DS-3000A. But 18-22 inches is the typical mast length for J-mounts, so save your money and get this if you don’t need the extra length.
As with the other mounts on this list, you will need to secure the Starlink dish mast to this J Mount with the included u-bolts or the Starlink Pipe Adapter. More on that in the next section below our recommendations.
#3 Budget Pick: Ubiquiti Universal Antenna Mount (UB-AM)
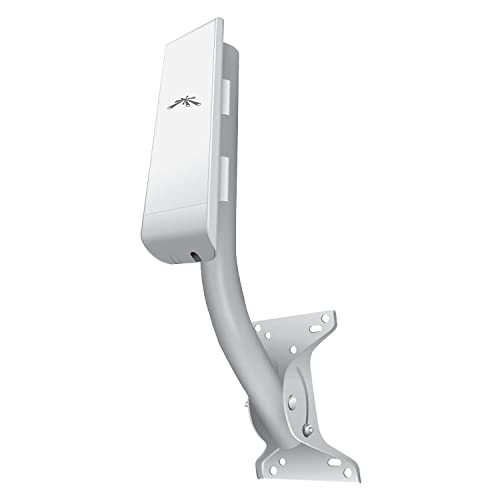
The final Starlink J-mount on our list is the Ubiquiti Universal Antenna Mount (UB-AM). This mount is the most affordable on our list. It has features that you would expect, including a reversible mast, 18 inch reach, and full angle adjustability. It’s your basic J-mount that will work with Starlink, at a reasonable price point.
White is the only color that this J-mount is available in, which can be a pro or a con depending on your personal preference. Compared to the top two picks, the Ubiquiti doesn’t have a true locking mechanism, and doesn’t have an extension or longer version available.
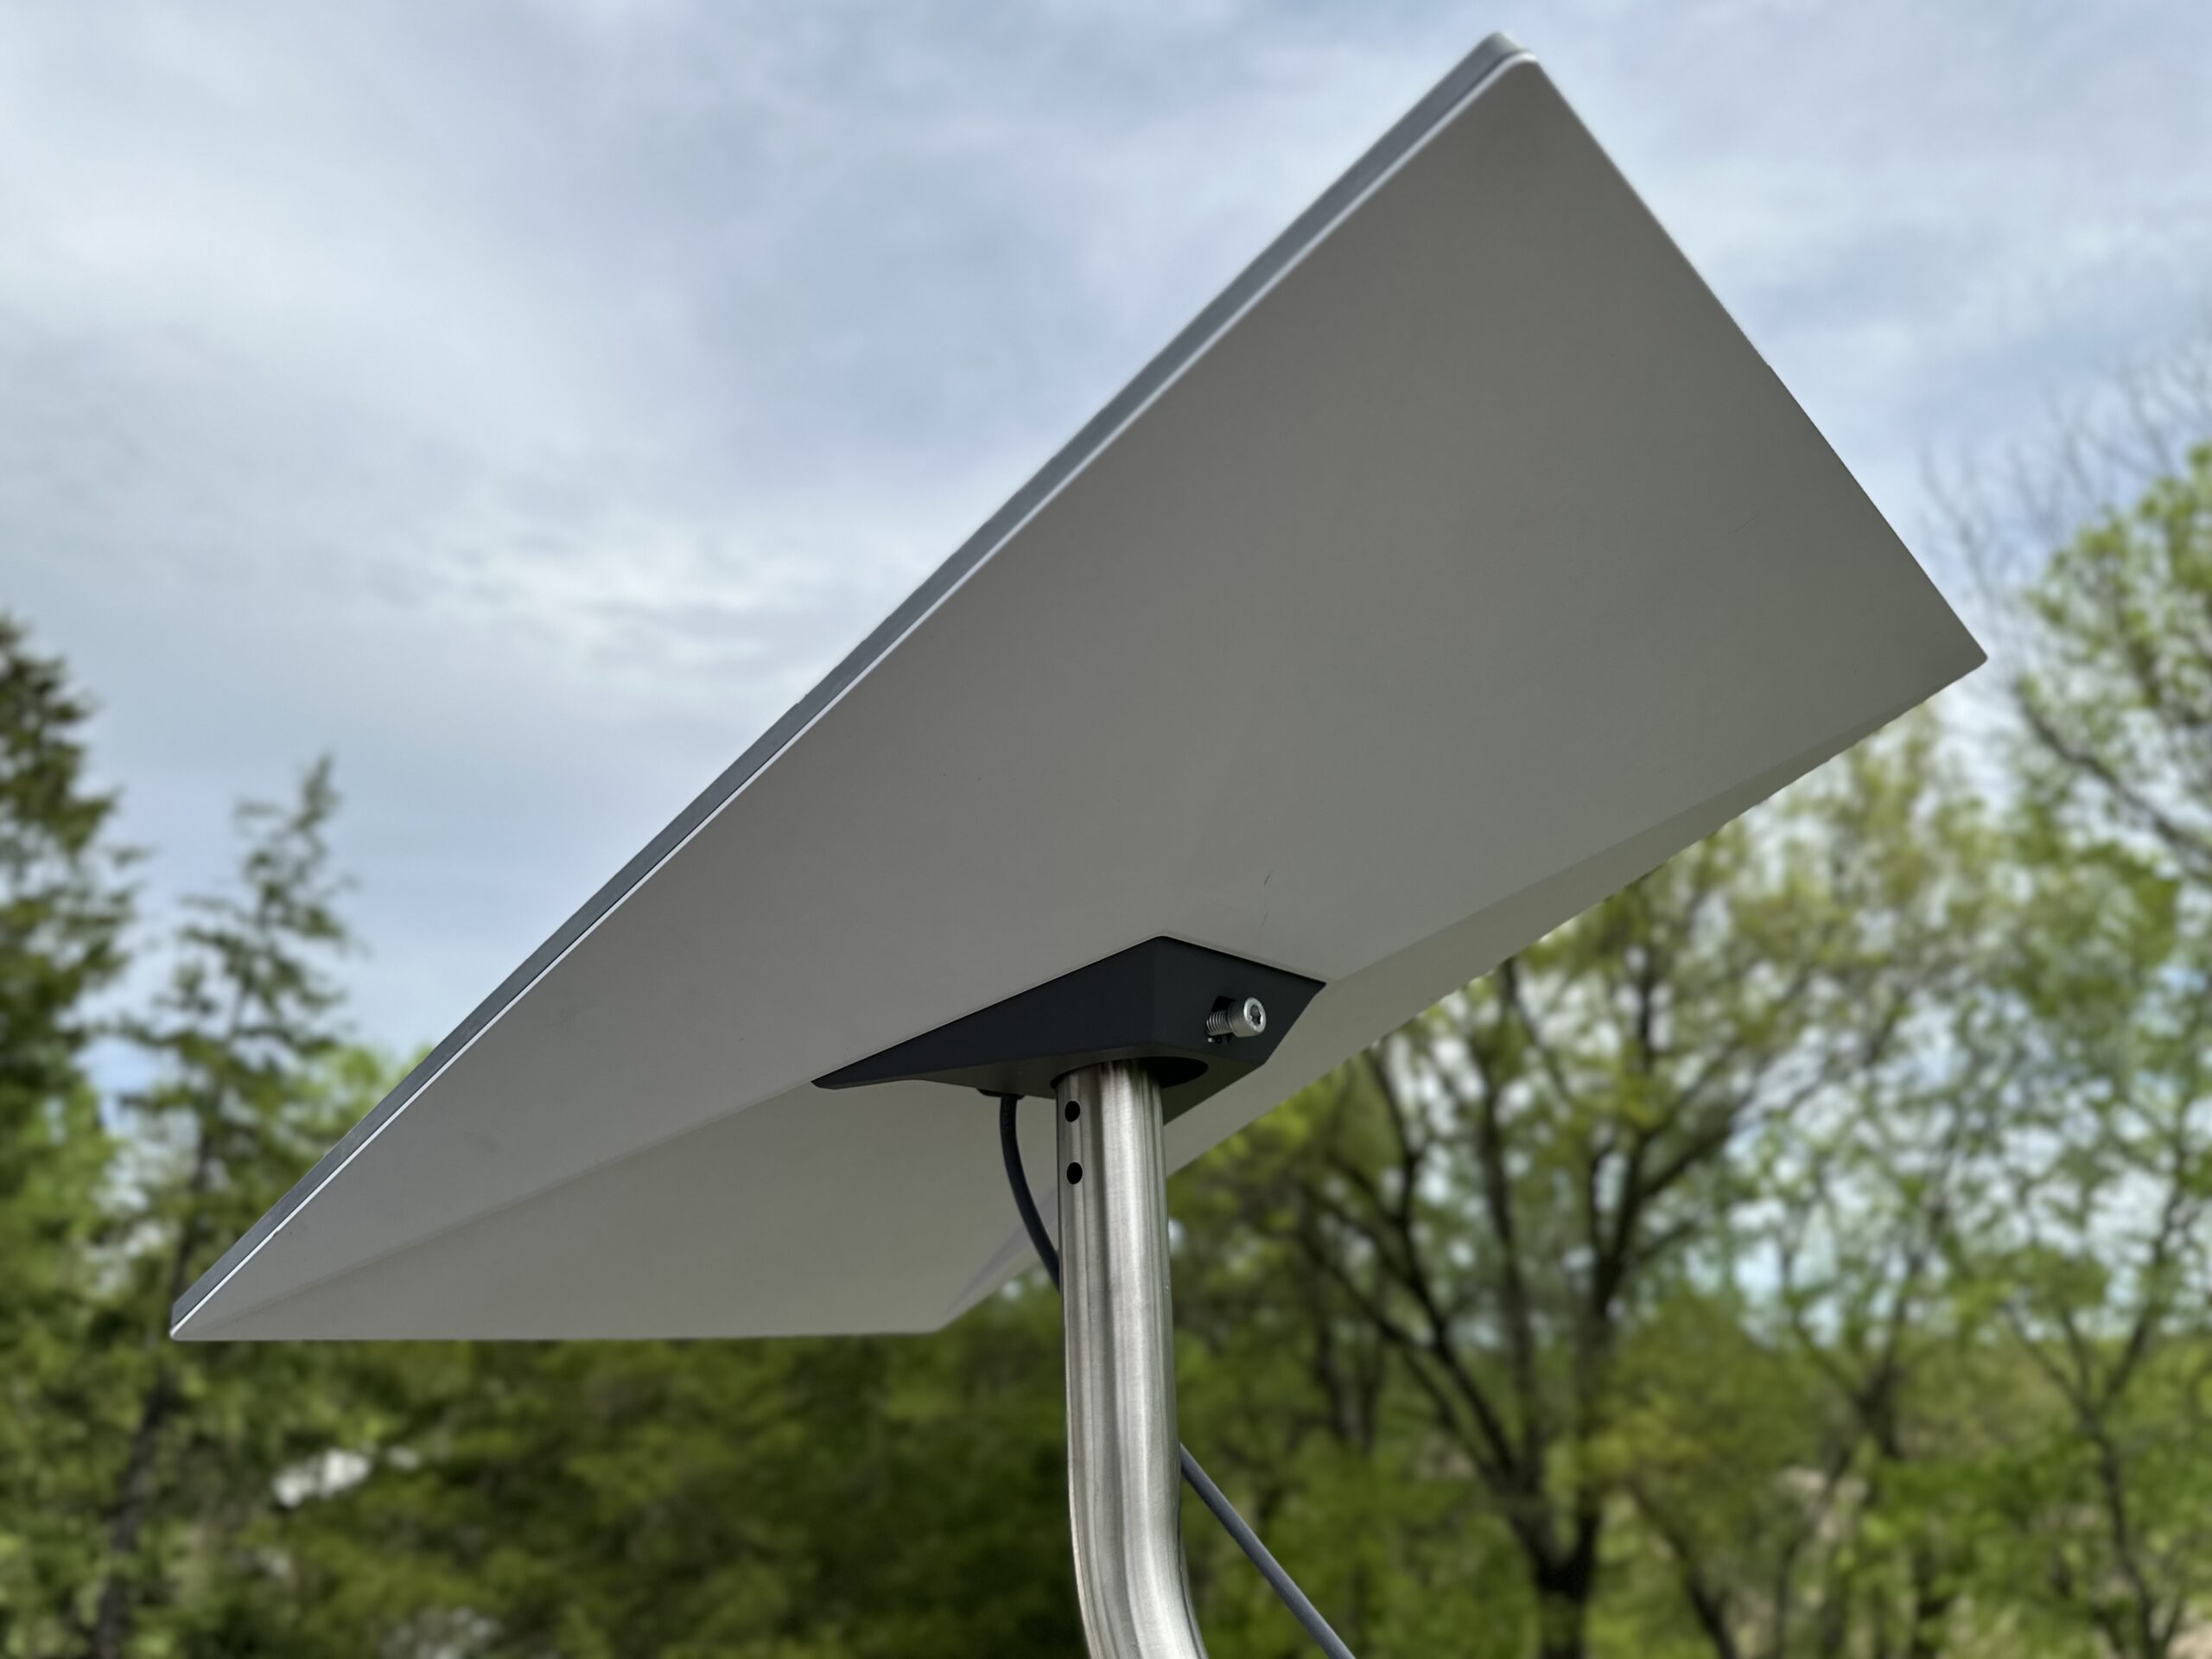
How To Secure The Starlink Dish To A J-Mount
The one downside to using an aftermarket mount with your Starlink dish is that the J-mounts are not designed to perfectly accept the Starlink dish. But there are some easy ways to make it plug and play, depending on which kind of Starlink dish you have.
Starlink Pipe Adapter
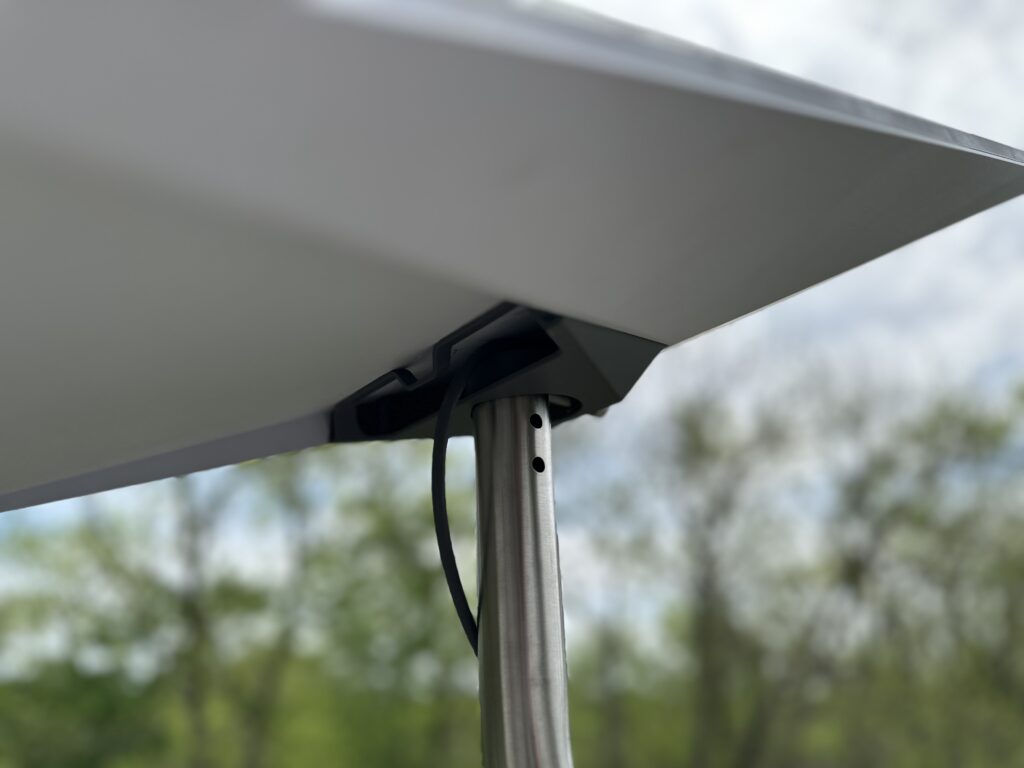
Luckily, every generation of Starlink has an accessory called the Pipe Adapter. This official accessory adapts virtually any 3rd party mount to Starlink. You simply tighten the bolt to secure your Starlink to the J-Mount.
To learn more about the Pipe Adapter, check out our review of the Gen 3 version.
Proxicast Starlink Adapter
The best way to secure a Gen 2 Starlink (the actuated versions with a mast) to an aftermarket J-mount is to use the No products found.. It’s designed specifically for the Starlink Gen 2 Standard dish, and makes it virtually plug and play.
The Proxicast adapter is meant to be used with the Proxicast J-mount, but if you already have a different brand, you can make it work thanks to the included bolts. You might need to drill some holes in your J-mount.
How To Install A J-Mount
J-mounts are great because of how versatile they are. They have an adjustable base that can be angled to allow for roof, wall, eave, or virtually any other type of installation. I recommend following the instructions included with the specific J-mount that you purchase, since one could vary from the next. But here is a basic approach:
- Select your mounting location. Exterior walls or the eave of your roof are ideal locations. You can mount a J-mount directly into your roof, but that should be a last resort due to the potential for leaks. I highly recommend researching roof installation guides if you go that route, but I won’t cover waterproofing here
- Select your mounting hardware. For wood surfaces, wood lag screws will do the trick. If mounting to metal, concrete, brick, or another type of material, you’ll need to research the best kind of fastener to use for your specific application
- Lay out the J-mount, level, and mark the holes for drilling
- Drill pilot holes for the lag screws (if applicable)
- Secure using lag screws, making sure to check for level and readjust if necessary
- Align the mast so that it is vertical, check with a level
- Tighten angle adjustment nuts on the J-mount base plate
- Once the J-mount is fully fastened to the surface, and the angle is set and tightened, slide the Starlink dish into place
- Take care to avoid damaging the cable
- Using your preferred method from above, secure the J-mount to the Starlink mast

Now you are ready to plug Starlink in and let it boot up. This process can take several minutes. Go grab a refreshing drink and check the app when you return. You’ll want to make sure your dish is online, has internet connectivity, and that there are no error messages on the app.
If all is good, you’ve successfully installed a J-mount for your Starlink dish!
Final thoughts
J-Mounts are a great way to mount Starlink to your roof. They come in a wide variety of mast lengths and materials. Paired with the right adapter, they are virtually plug and play with any Starlink dish.
Be sure to check out our guide to other Starlink mounting options for more mounting ideas.
My power supply for gen 2 router failed and finally Starlink is mailing me a gen 3 replacement. I currently have a long wall mount. Will I be able to easily replace with the gen 3. Is the gen 3 cable compatible at the antenna?
What is the base that you’re mounting to?
It’s the Starlink Flashing Mount.
The install location is in the UP on the shores of Lake Superior. Huge snowfall levels most years. I have a metal roof, with a decent grade. so we dont expect to have snow piling up on the roof (at least we hope not). I’m wondering about the offset of these J mount is mounted to the facia. Granted the poles are only 1.5in, but might they be enough to prevent snow from sliding down/off and then just build up and bury the dish.
the concern with this, is the roof is nearly 30 ft off the ground level, so its not really going to be accessible once installed (unsure still actually how to stay on the rook to mount thee J mount .. but thats a different challenge)
Thx
Even if snow was piling up, the heat from the dish itself will melt away enough to be able to maintain a signal. I’ve seen pictures from people who have it on the ground in multiple feet of snow, and the dish continues to melt away the area above and operate fine. There are longer j mounts like the DS3000 with a 38″ mast that might be your best bet to maintain a good distance between the roof and the dish.
Hi Noah! Thank you so much for all of this information. We had our starlink rectangular dish mounted with the winguard j mount you recommended. Unfortunately there are still obstructions. 🙁 do you know if we could estimate how much higher we need to go based on the obstruction graphic in the app? Also, do you know of anything that could work as an extender for this j mount? The angle of the larger version won’t clear our gutters. Thank you again!
I’m not aware of any tool or software that would estimate the height needed. But you can use the Starlink app to estimate if a location is suitable. For example, climb up to near where your Starlink is currently, run an obstruction scan using the app and your phone camera. Then go up several feet higher on the roof and repeat. See how it improves. It’s always best to mount the dish at the peak of the roof, at the highest point possible. It would be better to simply mount it higher on the roof than to try to extend the mount with a pole or something at its current location.
Is it safe to drill into or through the lower section of the Starlink Gen 2 antenna mast? (the smaller diameter section)
Anywhere below the cable would be safe to drill into.
Can the end of the dish-side connector be routed through a 3/4″ 90-degree electrical PVC conduit, or is the end too long to make the curve-through?
Unlikely to make a tight 90 degree bend. If it was a wider, sweeping bend it would probably work.
I purchased a Wineguard DS-3000A on Sept 8, 2022 thinking I might need the longer length. The inner diameter was significantly larger, so much so that the Starlink 2 pole slid all the way inside, past the button. It was unusable.
Fortunately I also ordered 10 of the Ubiquiti mounts and that turned out to be long enough for the current job. It worked great with the Starlink 2 dish and I have used them before for the 1st generation disk (as well as plenty of wifi equipment).
I used some strong tape to secure the dish’s pole to the mast to keep it from rotating
Thanks for the info. I will order one and check it with my V2 dish, they may have changed up the design a bit from the DS-2000A which works just fine.
Have we solved this mystery? I’m looking at buying the DS-3000 for my rectangular Starlink and want to make sure it fits properly
I recommend having some kind of clamp to use with the DS3000A, or you can also purchase the Starlink Pipe Adapter to guarantee a perfect fit.
The DS-2000A comes with some u-bolts according to the video above. Is the same true of the DS-3000? are those bolts still not satisfactory? I am considering the Winegard, but I am thinking I might like/need the extra height and extension. If it went this way, asside from the Starlink PipeAdapter, wonder what other alternatives (like the would the winegard universal mount help?)
For whatever reason, Winegard doesn’t include the u-bolts with the DS3000. You would need the pipe adapter or the Winegard universal adapter (linked in the article). Or just run to the hardware store and find some compatible u-bolts.
I purchased the Proxicast Pro-Grade J-Max (Aluminum). I have a Gen1 dish. The J-Max won’t fit into the dish mast, the J-Max inside diameter (1.37″) is to big. Do you know of an adapter?
I don’t know of any plug and play adapter, but you can use some kind of clamp or u-bolt like what is shown in the video to make a secure connection.
Thanks for this article! I don’t understand how the U-bolts actually secure the J-mount and mast. Does it press the J-mount pipe in tight enough to hold them together? I was confused by the statement that it “doesn’t permanently modify” either the pipe or mast. Because if it compresses the pipe that would certainly permanently modify it by deforming it to press against the mast.
Yes, it just tightens down on the Starlink mast enough to prevent it from moving. You can certainly tighten it too much, but the chances of permanent damage to your mast is pretty low as long as you don’t go overboard with the wrench. It’s not going to need to be tight enough to deform the tube. For the rectangular dish, I do recommend some electrical tape, shrink wrap, or something else to help fill in the gap. The rectangular dish mast is slightly smaller in diameter. Filling in a bit of the gap reduces the amount of tightening you have to do on the U-bolts.
Hope that helps answer your concern.
Absolutely. This has been extremely helpful. Thanks for your reply!