
Starlink Dish Placement - Which Direction Should It Face?
Learn how to determine the direction your Starlink dish should face, and how to adjust the alignment if necessary.

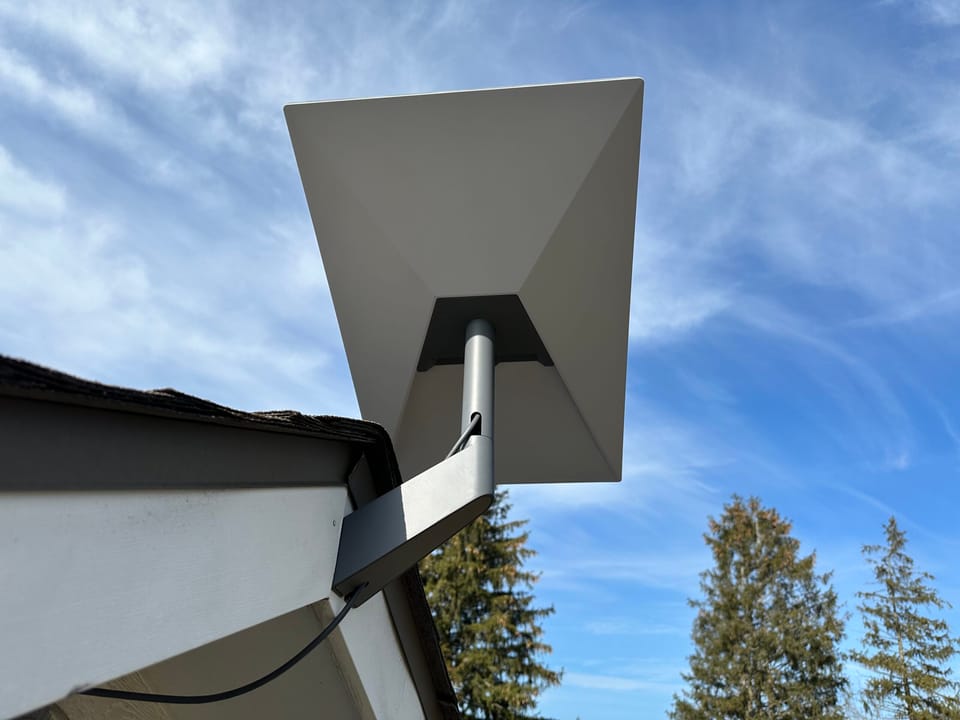
- Author
- Published
- Community
- 64 comments
What do you think of when you picture a satellite dish? If you're like me, you picture a common DirecTV satellite dish mounted on a roof, aimed south to get a signal. Does the same strategy apply to Starlink?
Starlink dishes are very different from stereotypical satellite TV dishes. In terms of aiming, it all depends on your location. In this guide I'll explain how to determine which direction your Starlink should face, as well as how to properly align it.
How to Figure Out Your Starlink's Direction
The direction that your Starlink dish will face depends on where you live in the world. Not all Starlink's point the same way. For example, my dish wants to face north northwest. If you live in a different part of the world, your dish might want to face southwest.
The Starlink app (available on iOS and Android) has a neat tool that you can use to determine which direction your Starlink will face. It uses the camera on your smartphone to scan the sky. Technically it's supposed to scan for potential obstructions, like trees, but it also shows you which direction Starlink needs to point.
Step 1: Choose a good location
Find a good mounting location for your Starlink dish. It's best to install Starlink as high up on your roof as possible. If you aren't sure about that yet, you can just stand in an open area of your yard.
Step 2: Use the Starlink obstruction scanner
Download the Starlink app if you don't already have it. Open the app and tap "Start setup". Select the type of Starlink you purchased. If you aren't sure, select "Standard", then tap "Confirm". Now hit "Check for obstructions" to open the scanning tool. You may need to give the Starlink app permission to use your camera. That's what it uses to scan the sky.
Once the tool loads up, tap "I'm ready!" to start scanning. Follow the instructions on the screen, rotating all around until the scan is complete.
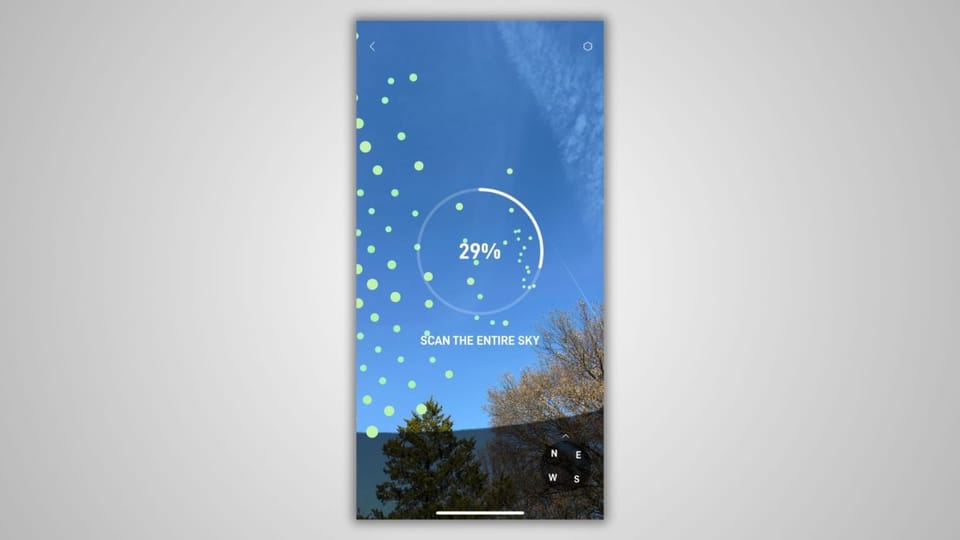
Step 3: Get your direction from the results
After the scan is complete, you'll see the estimated obstructions for the mounting location you chose. The obstruction map is filled in with red and blue areas, with red indicating potential obstructions that can block the Starlink signal.
There is also an arrow next to the Starlink dish on the obstruction map. That arrow tells you which direction your Starlink will face. As you can see from the screenshot below, Starlink wants my dish to face north northwest.
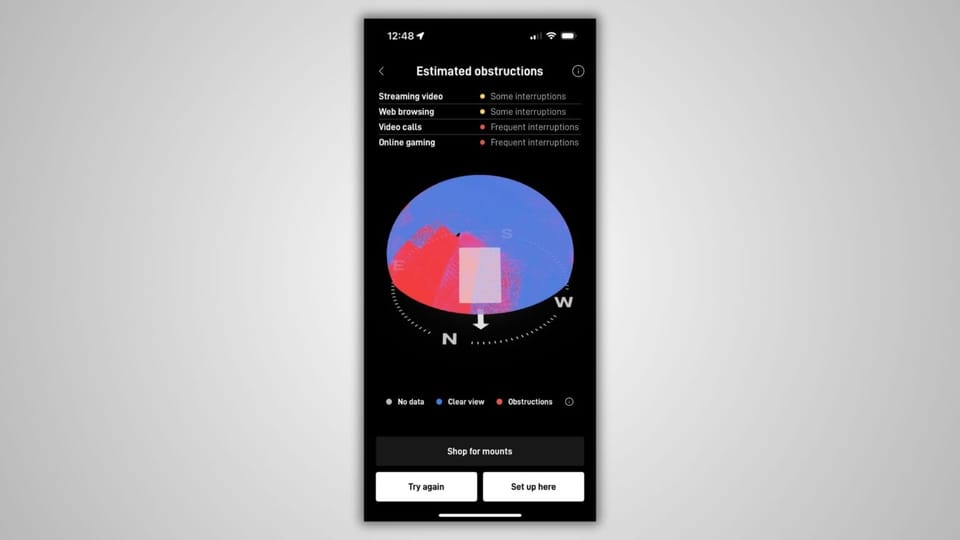
You can hit "Try again" to scan a different location. The direction in which your Starlink will face will not change based on obstructions (like trees) or by scanning in a different area on your property. I recommend scanning various locations until you find a place free of red shaded areas on the obstruction map.
I have a full guide on Starlink obstructions if you need more help finding a suitable mounting location.
Starlink vs Traditional Satellite Dishes
Other satellite communication services, such as Viasat or Dish Network, require a line-of-sight to their satellites, which are in geosynchronous orbit over the equator. Relative to the earth, the satellites are stationary, they don't move across the sky.
Starlink is completely different. The constellation is made up of thousands of satellites in low Earth orbit. They constantly move across the sky. Starlink dishes have a very wide field of view (110 degrees) and phased array antennas that can electronically steer the satellite signal. In simple terms, they don't need to be pointed in any specific direction. The satellites cover much of the sky, so it isn't necessary to aim the dish in a specific direction.
Starlink does attempt to load balance their network. That's why there is a general direction in which Starlink will have you aim your dish. It depends on your location on Earth. For example, those of us living above the equator will typically have our Starlink's pointing north. South of the equator, dishes will usually point more south.
Properly aiming your dish according to Starlink's instructions is key for optimal performance, but it will still connect and work even if you point it the wrong way.
Aiming a Starlink Dish
Starlink has actuated and non-actuated Starlink dishes. The actuated versions have motors that automatically aim the dish to the proper area of the sky based on your location on Earth. If you have an actuated dish, you do not need to aim the dish manually.
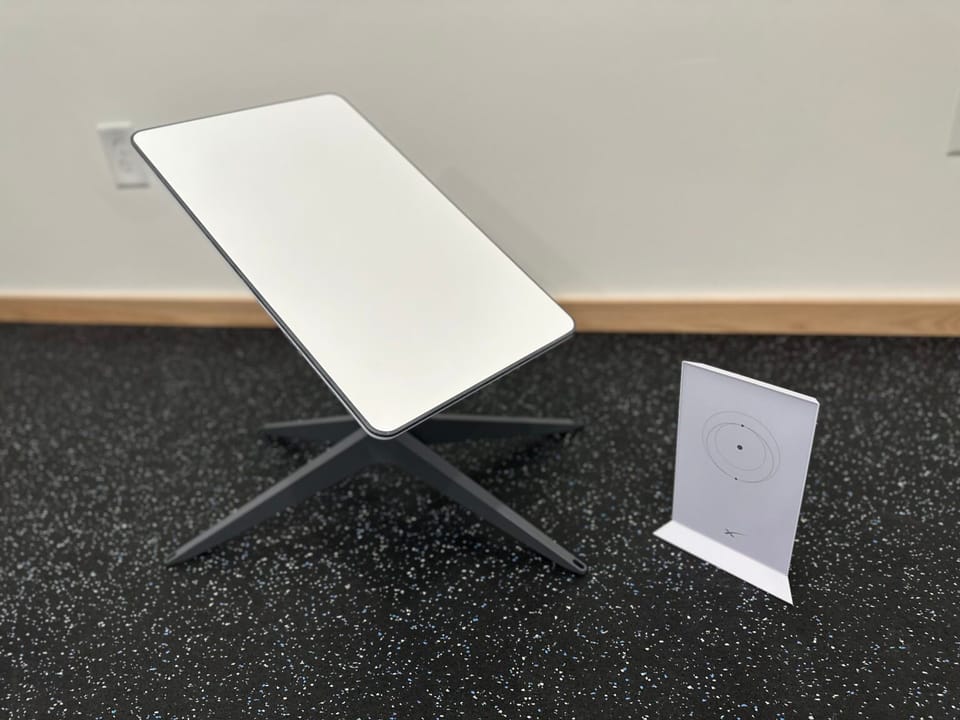
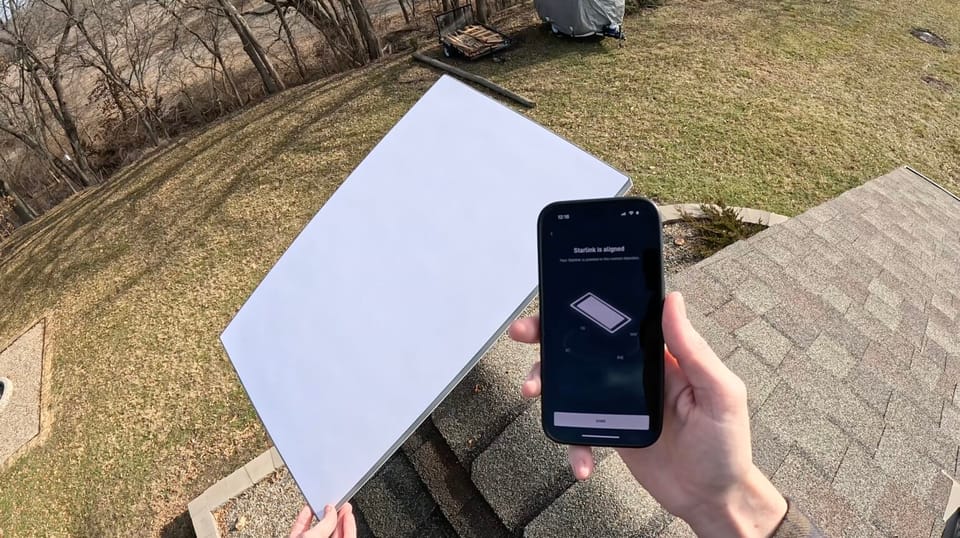
Newer Starlink dishes are not actuated and must be manually aimed. Alignment is done during the initial setup of the dish. You use the Starlink app to rotate the direction of the dish until it's pointing in the right direction. Check out my Starlink Alignment Tutorial for full instructions.
Frequently Asked Questions
If you use Starlink Roam, aiming and the direction your Starlink faces isn't as important. For example, if you've mounted a dish to your van roof, it's not practical to aim Starlink in any specific direction.
Starlink dishes have a wide field of view and can see most of the sky, regardless of which direction they are facing. For Roam users the most important thing is finding a clearing without trees. If you are able to align the dish per the Starlink app, that's a bonus.
With actuated Starlink's, any realignment is automatic. Starlink does adjust dish directions for certain areas for load balancing purposes. For newer non-actuated dishes, like the Gen 3 Standard, you shouldn't have to adjust the alignment after the initial setup process. I've had my Standard dish installed for over a year, and haven't had to adjust anything.
No, it depends entirely on location. In the Northern Hemisphere, most Starlink's will face north northwest or north northeast. In the Southern Hemisphere, they tend to face south.
The direction Starlink faces has a lot to do with other satellite systems. Starlink can't interfere with satellites in the Clarke Belt, so generally the dish will never be aimed toward the equator. If you see a blank line in your Starlink obstruction map, that's why.
Summary
Most Starlink dishes in the Northern Hemisphere will face north, but the optimal direction for your Starlink depends on your location. I recommend following the instructions in the Starlink app obstruction tool to determine which direction Starlink dishes face in your area.
Customers with older, actuated Starlink's will find that their dishes automatically align, while newer Starlink models require manual aiming during the initial installation process.
If you have questions and need additional help, feel free to leave me a comment below.

Discussion
64 Comments