Installing a Starlink Router Outside
This post may contain affiliate links. See our policy to learn more.
The Starlink Wifi router is meant to be placed inside, but that isn’t practical for everyone. Maybe the Starlink cable isn’t long enough to reach inside your home, or perhaps you just want to avoid drilling holes. So what about installing the router outside?
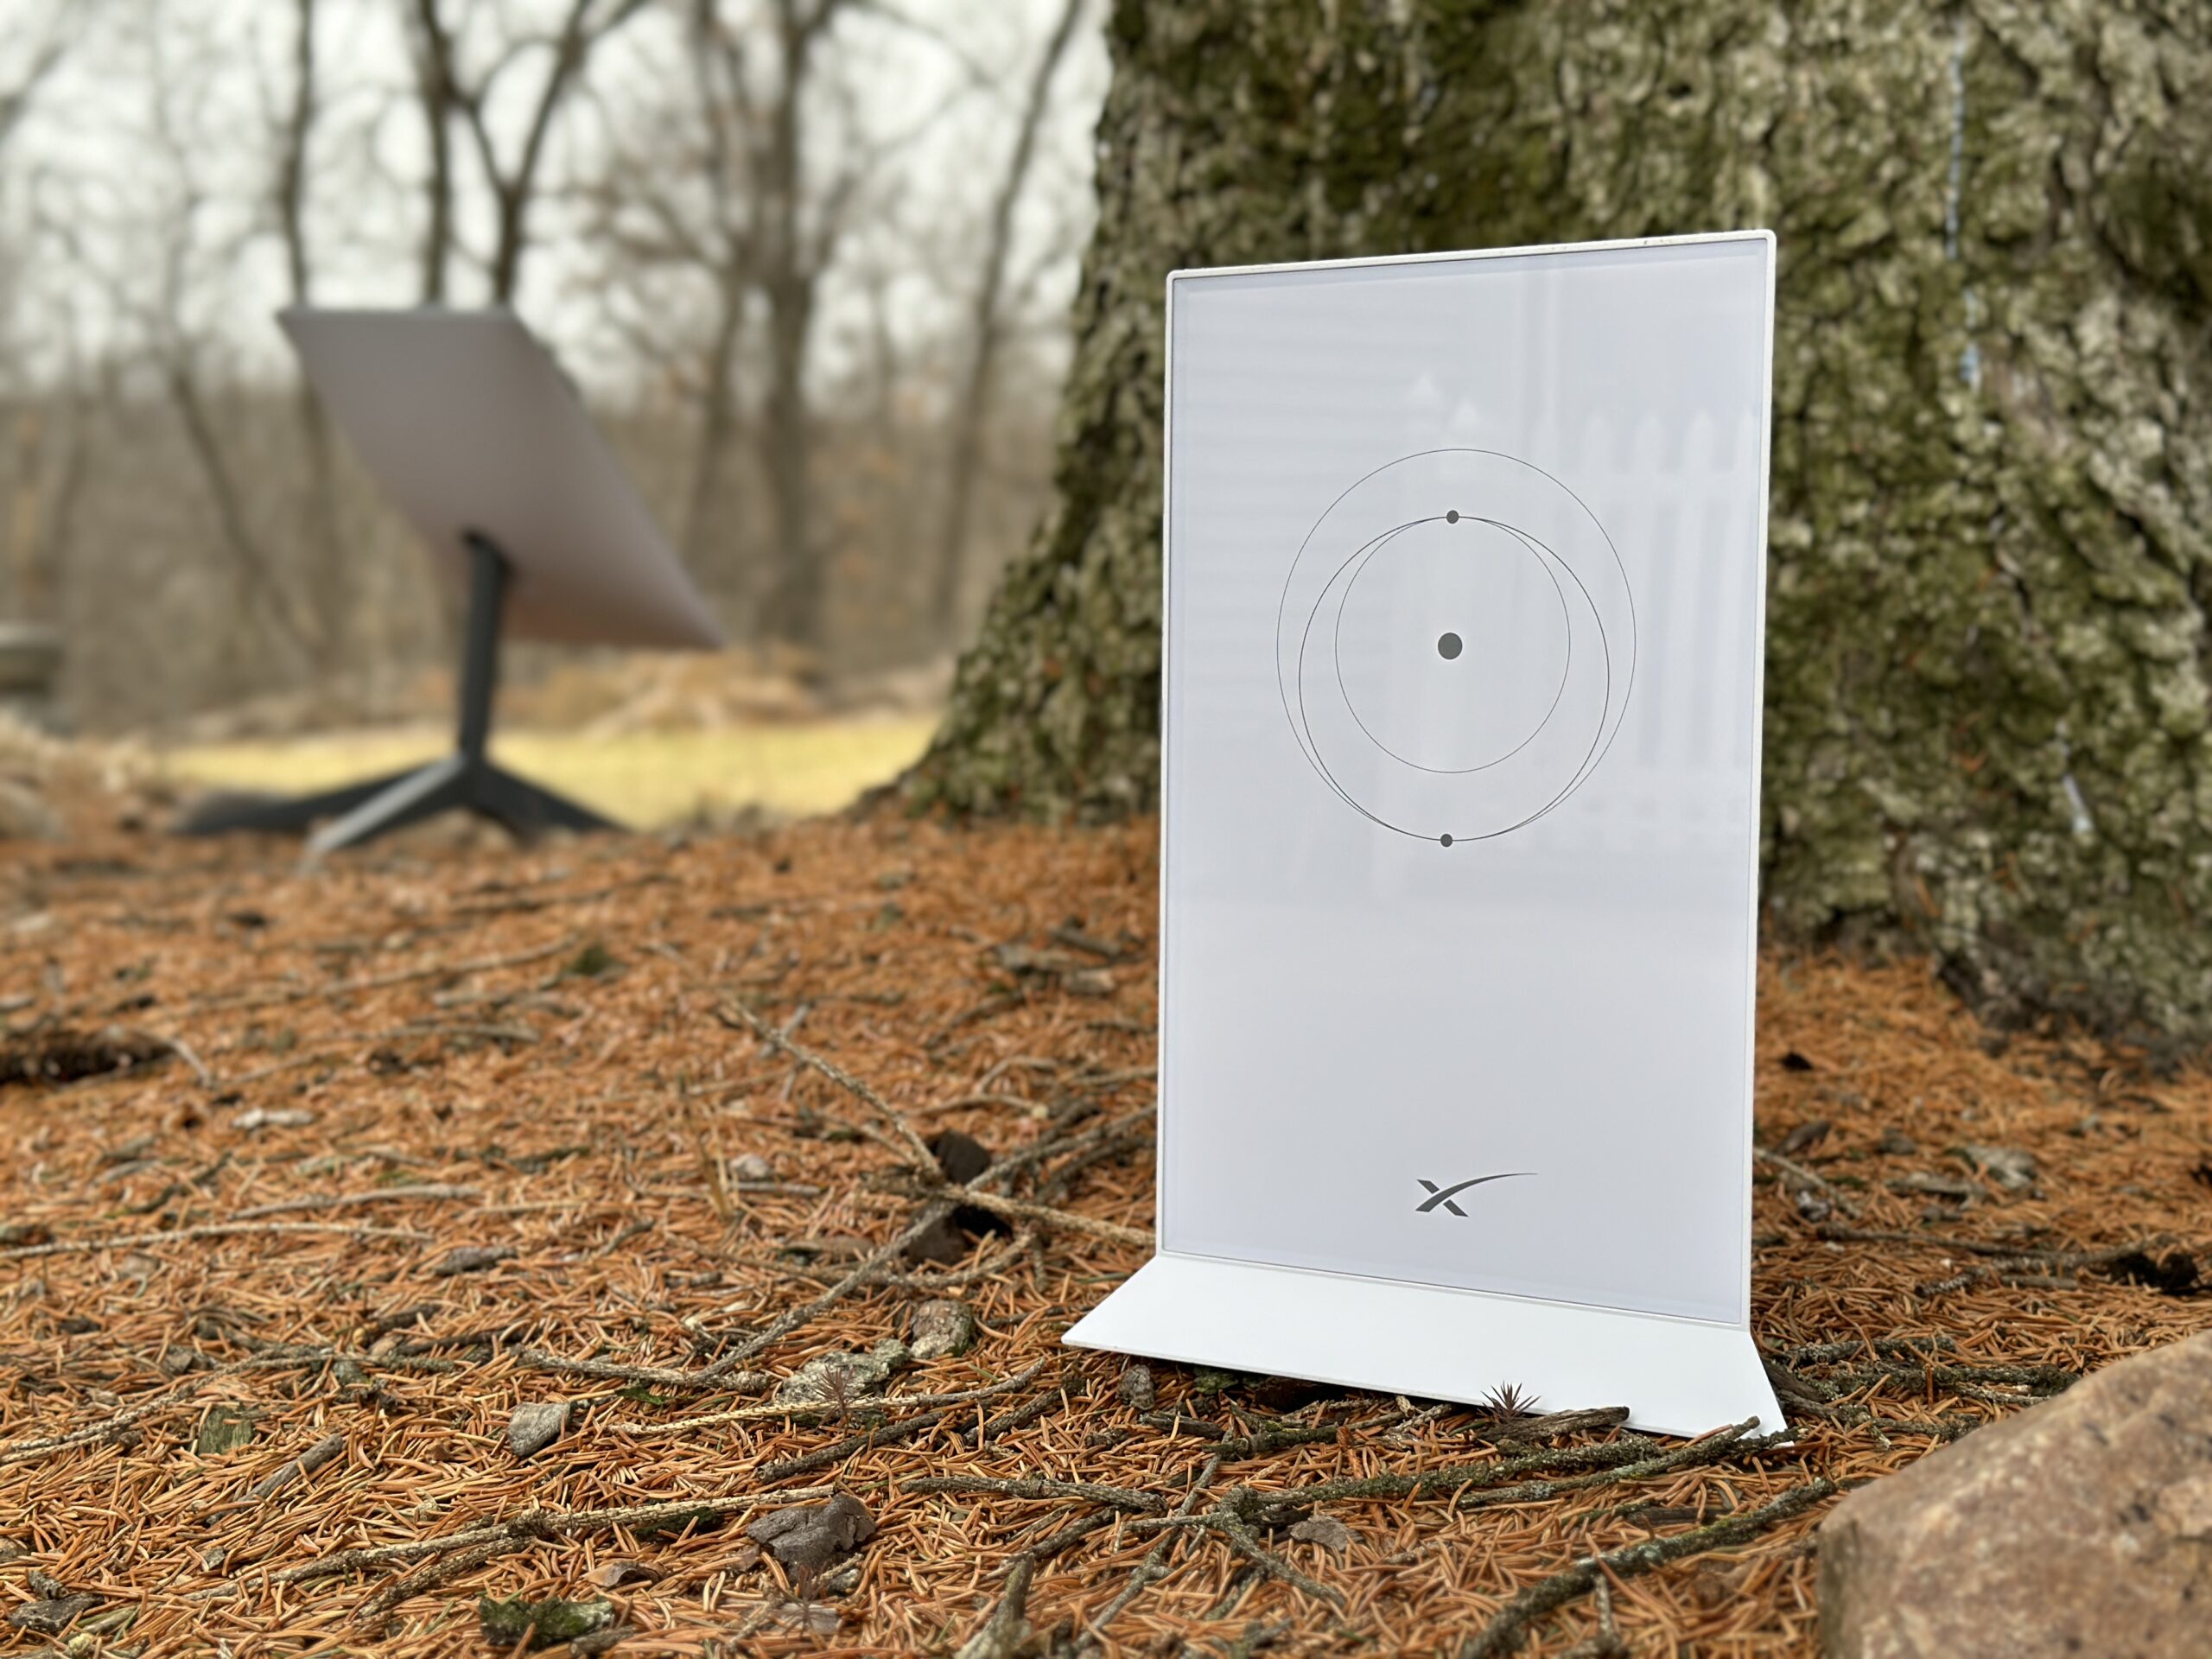
I get this question a lot, so I figured I would write up a short guide on how to get it done. The short answer is, yes, it can be placed outdoors. Let me walk you through an example setup with a few tips and recommendations I’ve picked up over the years.
Is the Starlink Router Outdoor Rated?
The latest Starlink Gen 3 router has an IP56 environmental rating. That means it is dust resistant and waterproof. Although Starlink designed it for indoor use, that rating means it is able to withstand weather from all four seasons. The key to that weatherproof rating is the seals around each connector going into the router.

The Starlink router can operate in temperatures from -22°F to 122°F (-30°C to 50°C). With dust, water, and extreme temperature ratings, the Starlink router is well suited for outdoor applications.
What about the power supply brick that comes in the Gen 3 kit? It’s also rated for outdoor conditions. It has a higher IP66 rating for complete protection from dust and water. It has a slightly wider operating temperature range of -22°F to 140°F (30°C to 60°C).

Installing the Router Outside
There are several factors to consider when deciding on how to mount the router outside.
Wifi – In my opinion, the main concern is the Wifi signal. Wifi routers are designed to be installed inside where most of your devices are used. If you put the router outside, Wifi performance inside the house might be reduced, especially at the opposite end of the home. I recommend setting up a Starlink mesh network if you need more coverage.
Power – You’ll need a power outlet nearby, so plan the mounting location of your Starlink router with that in mind. The Gen 3 power supply plugs into a standard wall outlet, and then hooks up to the router via a short cable to provide power to the system.
Weather – Although the Starlink router is weatherproof, you might want to consider protecting it from the elements as much as you can. Do you have a covered porch you could install it under? If the router will be completely exposed, you could purchase an outdoor enclosure to keep all the Starlink equipment in.
This post may contain affiliate links. See our policy to learn more.
Weatherproof Enclosures for Starlink
If I had to install my Starlink router outdoors, I would mount everything in a weatherproof box. Not only would it provide an extra later of protection from the elements, it keeps everything safe and organized.
If you put the router in something like the weatherproof electrical box above, it will be protected from the elements, and secure inside a lockable enclosure. It would be large enough to accommodate the power supply and router.
Not interested in an enclosure? You could just get a Starlink power supply and router mount like this one. It would be a nice way to get the router and power supply off the ground and out of the way.
Summary
The Starlink router is dust resistant and waterproof thanks to the rubber seals on all the connectors. If you need to mount it outside in the elements, consider things like Wifi performance and power availability. I also recommend using some kind of weatherproof electronics enclosure to add another layer of protection.
If you have any additional questions or ideas, leave them in the comments below!




Hello… excellent article, it was very helpful for my installation. In a previous article, Starlink Setup And Install Guide (June 20, 2022) in a FAQ section, I understand that you mention it is not possible to install the router outdoors without a weatherproof box. It might be a mistake on my part since English is not my native language, but perhaps you could review it. Thank you!
I need to update the article. When I wrote that, the current Gen 2 router didn’t have as good of an environmental rating as the current Gen 3 router.
Hello,
I want to place my starling router outside but undera roof. It may get light water rinses with string rain and dust from wind but no direct sunlight or rain. Will it still need the enclosure or the wall mount would be enough?
The router is rated as water resistant, so light water spray won’t be an issue.
How do I get an ethernet router for my starlink?
If you have a Gen 2 system, you just need to buy the Ethernet Adapter accessory to gain an Ethernet port on your system. Gen 1 and Gen 3 systems have Ethernet ports on the router already.
Hi, Thanks for this… it gets me a little close to what I’m aiming for. Can you tell me if there is any way to turn off the wifi and just use an ethernet cable with this standard router?
Turn on bypass mode, which disables the Wifi and routing functions. You will then be able to connect your own router to the Ethernet Adapter. I have a guide with more info on bypass mode:
https://www.starlinkhardware.com/how-to-bypass-the-starlink-router/
How do you seal the holes made in the waterproof box through which the cables and plugs will pass? I bought the waterproof box, which seems pricey, and I need to know how to re-seal the holes before I start drilling.
There are rubber electrical grommets that are sized to fit the various openings in the box. It doesn’t need to be completely sealed, for example on the bottom you want a place where water can escape if it makes it inside.
Use rubber grommets or RTV silicon
What about heat? The Starlink router generates plenty of heat as you can easily feel touching the back of the router. Without proper ventilation the router will prematurely fail especially if the waterproof enclosure is exposed to the sun.
True, you need to make sure the enclosure the router is in does not exceed the heat rating of 122 degrees F.
Silly question here…but wouldn’t the front of the box need to be clear so that the router signal is stronger?
Thanks
Sarah
Most people who have to install the router outside would be using a 3rd party Wifi router inside the house. The Starlink router just serves as the dish power supply. You can connect the Ethernet Adapter to the Starlink router, and then run CAT5E cable inside the home to connect to the 3rd party Wifi router or mesh system. But if you are still going to rely on the Starlink router for Wifi, the signal would be impacted by the distance from the house, and also by any obstructions like the mounting box, walls, trees, etc.
Plastic is plastic (generally speaking) to a radio wave and a clear plastic is as much a barrier to radio frequency energy as coloured plastic… which is to say, not much of one.
Very useful article. What size is that junction box please?
The one shown in the article is 14.6″x10.6″x5.9″, which easily fits the Starlink router and leaves enough room for an Ethernet Adapter and cable management.
That box is a good one. But, if you live in Texas, as I do, then you may want to consider a vented box with fan option. I purchased this one here: https://amzn.to/44pW1Bn
It’s a little pricey, but well worth it here. It was 107°F in that box today.