Starlink Mounting Options – A Guide To Official And 3rd Party Mounts
This is a complete guide to all the different Starlink mounting options, with tips for choosing the best mount for your installation.
The standard base that comes with every Starlink kit is not going to be a permanent solution for most people. If you plan to install the Starlink dish on your roof, it’s best to get a mount designed for that purpose. Ultimately, how you end up mounting your dish will depend on many factors, including obstructions, roof type/angle, and budget.
In this guide, I will walk you through various Starlink mounting options. I will cover various types of mounts, including official Starlink products. I will also recommend some aftermarket mounting accessories. By the end, you should have a good idea of what type of Starlink mount will work best for your application.
Pick A Good Mounting Location
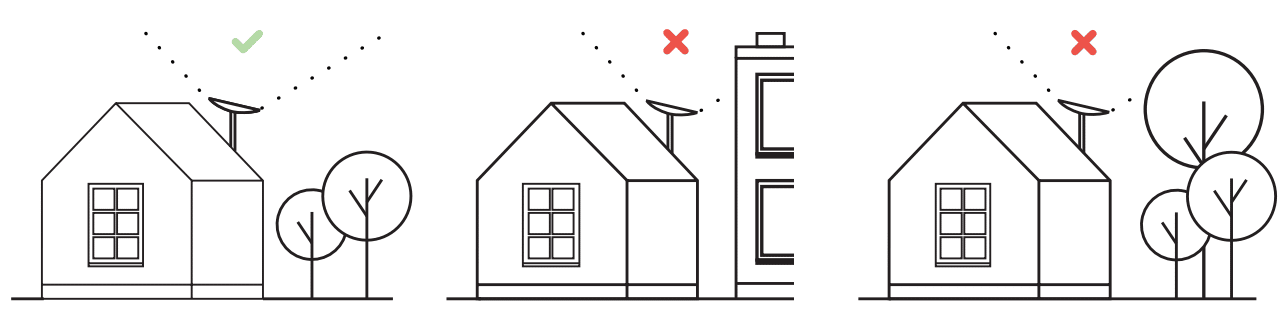
The very first thing to consider is whether you have obstructions at your desired mounting location. Obstructions can be anything that block the view of the sky. In most cases, it will be trees that cause issues. Utility poles and other buildings could also obstruct Starlink’s view of the sky.
Best Places To Mount Starlink
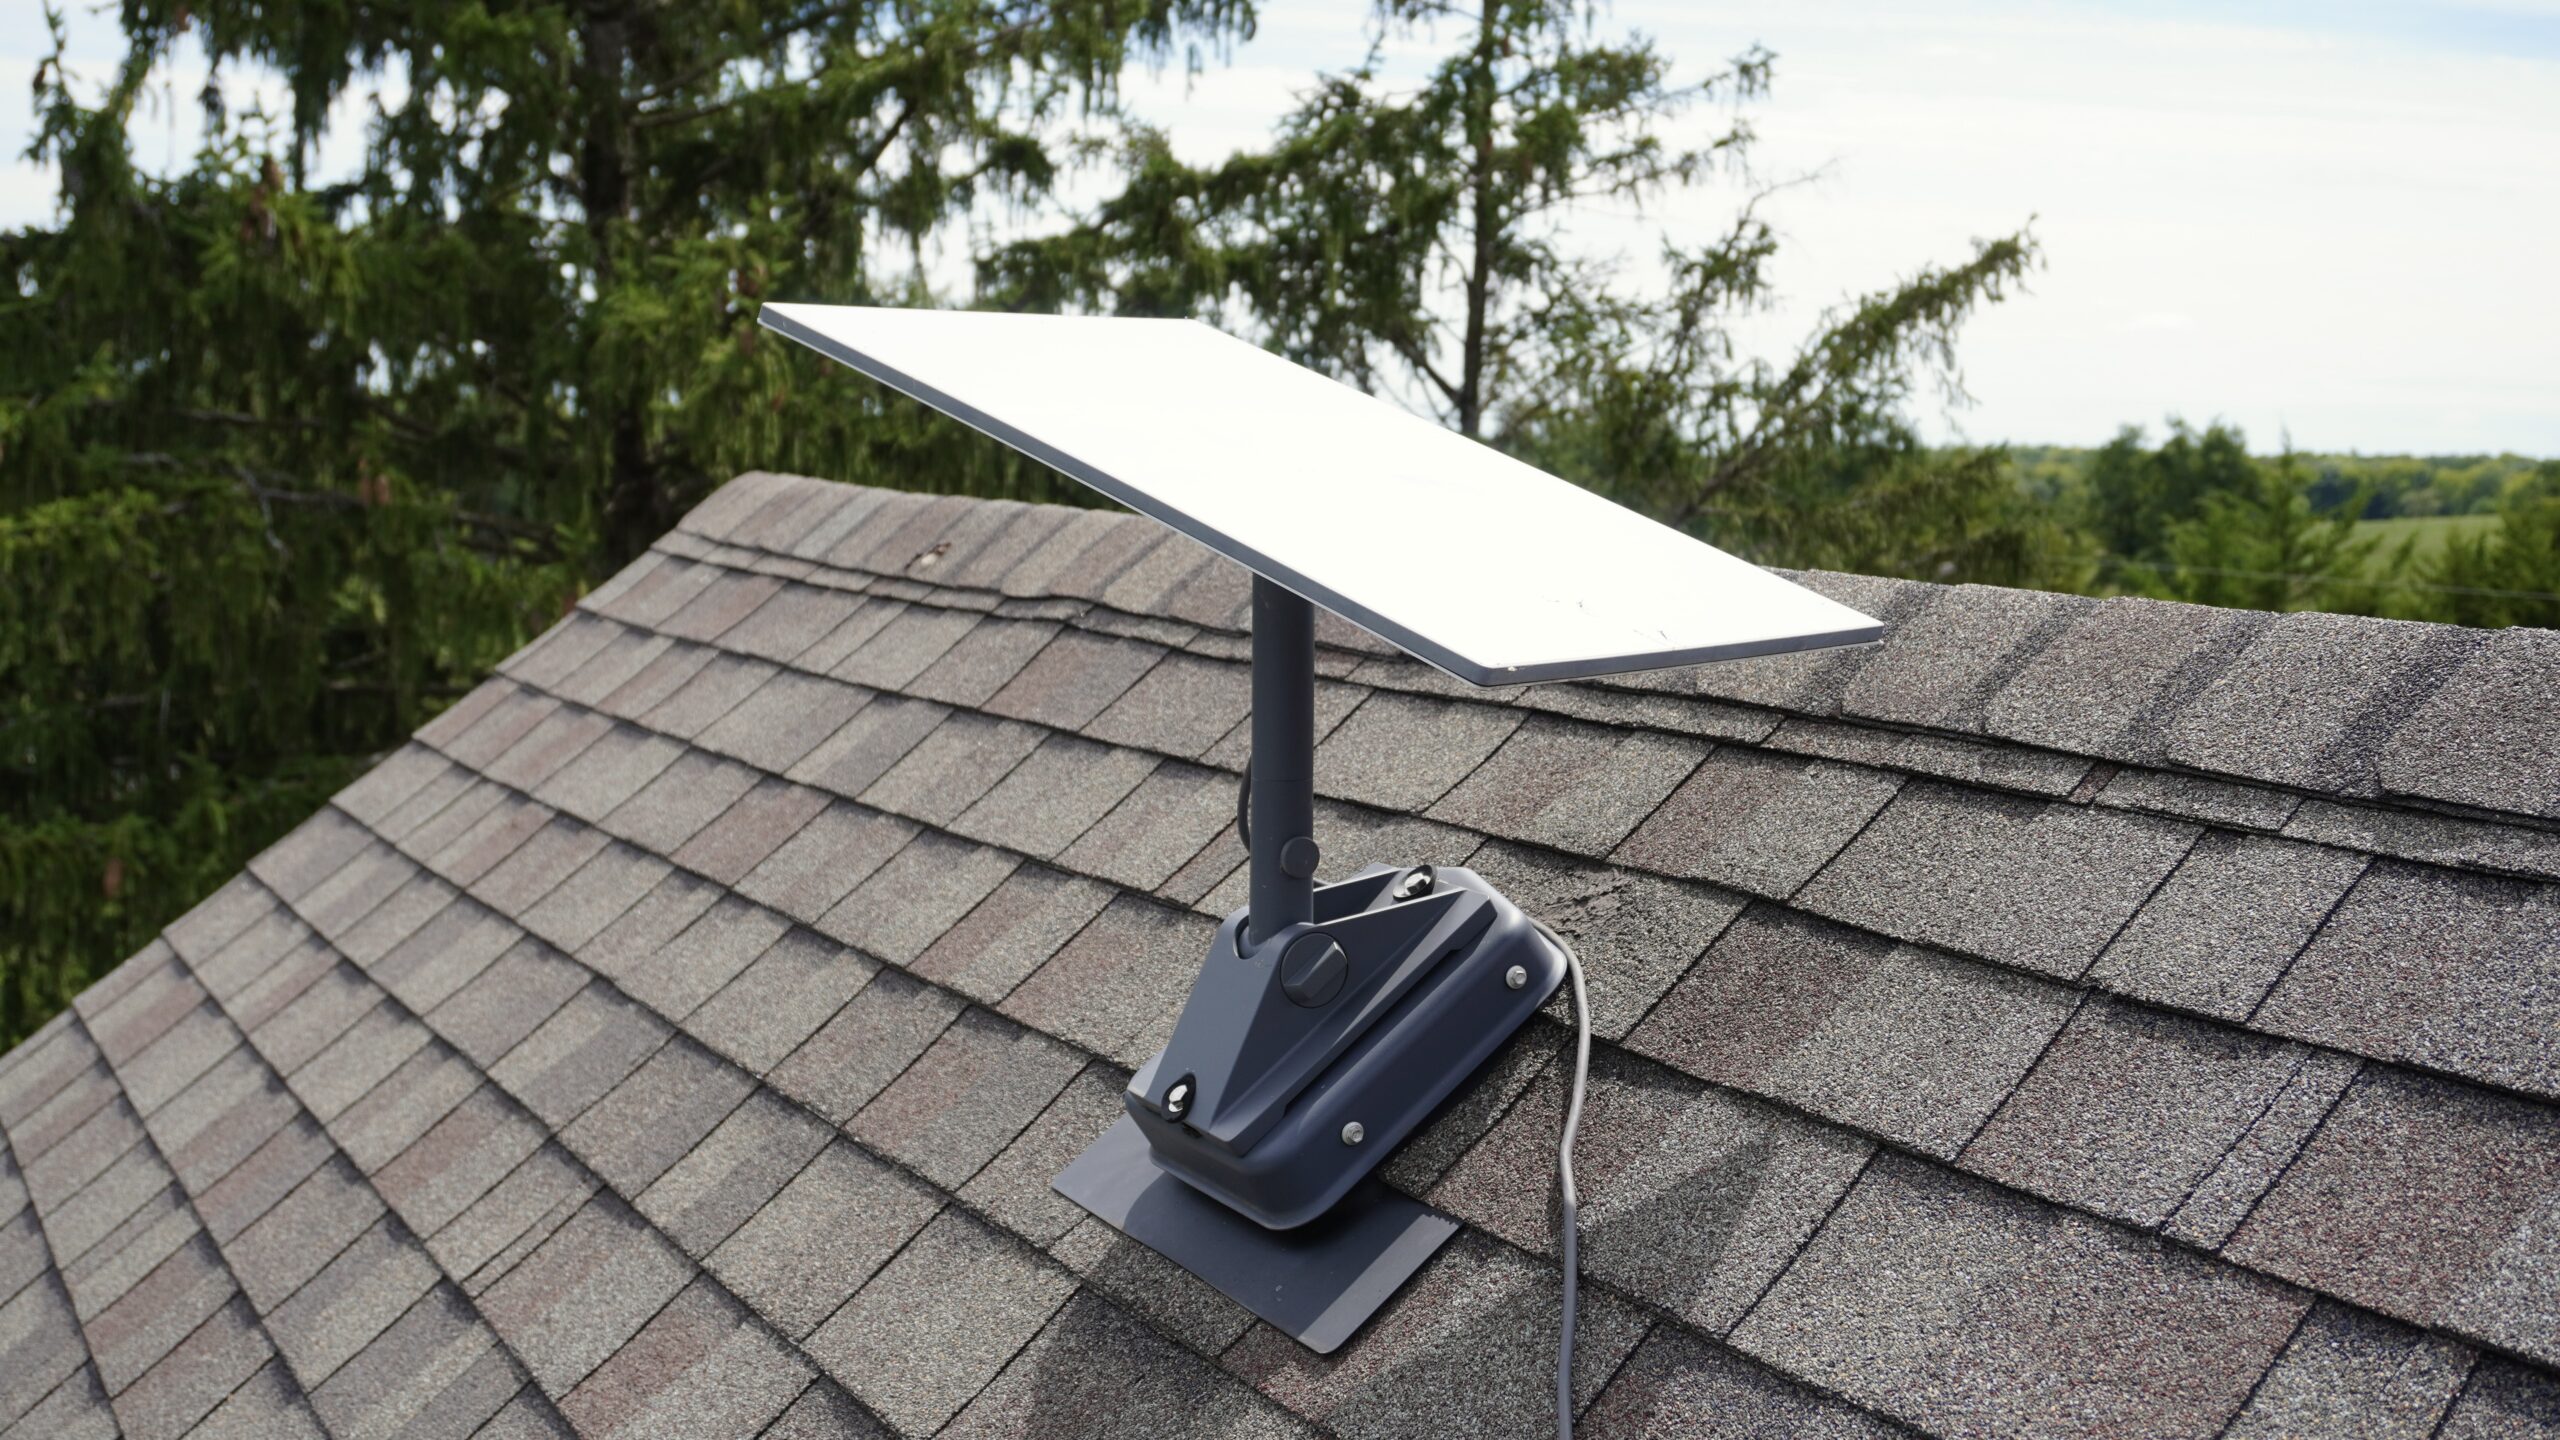
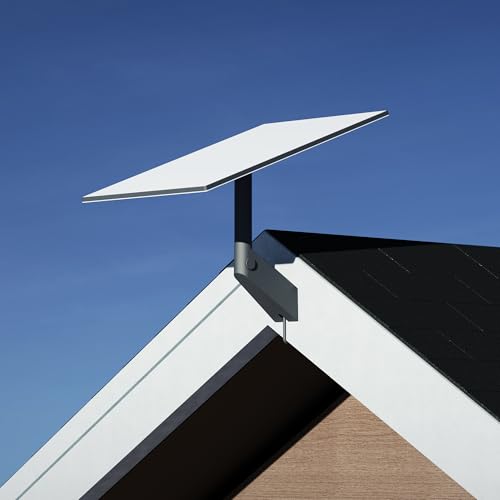
The best place to mount a Starlink dish is at the peak of your roof. You want it mounted as high as possible so that the signal won’t be impacted by trees and other obstructions. You can attach mounts directly to the roof surface, to the facia/eave, on the ridge, or even to a chimney.
Sometimes, the peak of your roof isn’t the best location if you have tall trees nearby. You can also mount Starlink in a clearing using a pole mount, or on a tower if you have very tall trees. Depending on where the obstructions are on your property, mounting on a garage or outbuilding might be the best solution.
How To Check For Obstructions
The Starlink app allows you to view details about obstructions in two ways. First, you can use your phone camera to search for potential obstructions at your desired mounting location. Stand in the area where you want to mount Starlink, open the app, and use the obstruction finder to see if Starlink has a clear view of the sky. This will give you a general idea about obstructions in that location.
The second method, if feasible, is to temporarily set up your Starlink dish in the location you want to mount it, using the included mounting base. Power it up, and allow the Starlink app to collect data for at least 12 hours. After waiting, check the obstruction map in the app to see if the location is suitable for a permanent mount.
Once you’ve found a suitable location for your Starlink dish, that is free of obstructions according to the Starlink app, you can proceed to picking a mount for a permanent installation. I will cover various types of Starlink mounts in the following sections.
This post may contain affiliate links. See our policy to learn more.
J-Mount – The Versatile Mounting Option
The most common type of Starlink mount is the roof mount. With a roof mount, you attach Starlink directly to the roof surface, or on the fascia/eave. There are a variety of roof mounting accessories available on the market, including official Starlink products, and aftermarket options. Let’s start with the good ol’ J-Mount.


#CommissionsEarned
One of the best mounting solutions for Starlink is the J-Mount. They are widely available, affordable, and extremely versatile. In fact, you might already have an existing J-Mount from another satellite service, like Dish Network. You’ll want a J-Mount that has a pipe diameter of around 1.5 inches to use with Starlink, such as the Proxicast Pro-Grade J-Max that is pictured above.
If you go with a J-Mount, you’ll want to pick up the Starlink Pipe Adapter. With the Pipe Adapter, you can adapt your Starlink dish to any J-Mount up to 2.5″ in diameter. The adapter creates a plug and play solution when using 3rd party mounts like a J-Mount.
J-Mount is good for: Eave/fascia, roof, or exterior wall. Extremely flexible and affordable solution for a variety of installation locations.
Might not be suitable for: Areas with a lot of obstructions. The typical height of a J-Mount is 2-4 feet, so if you need more height beyond the top of your roof, a J-Mount might not be the best option.
Flashing Mount – Professional Looking Starlink Roof Mount

#CommissionsEarned
For a professional and worry-free roof installation, consider a flashing mount. A flashing mount installs under the top layer of shingles, and secures to your roof structure for a very strong and leak-free solution. Flashing mount installations will require not only the flashing mount itself, but also an aftermarket J-Mount or Starlink Pivot Mount.
Starlink used to sell their own flashing mount, but it has been discontinued. Thankfully, aftermarket options like the Commdeck Flashing Mount are widely available. With the Commdeck, you’ll need to add a J-Mount or Starlink Pivot Mount as pictured above.
Flashing mount is good for: Direct to roof installations. High rain/snow locations where roof leaks might be a concern. It gives you a clean, professional look.
Might not be suitable for: Roofs that aren’t covered with shingles. The installation process is more complex, and more expensive than other roof mount options.
Non-Penetrating Roof Mount – A Permanent Installation Without Drilling


#CommissionsEarned
For various reasons, some people will not want to drill holes in their roof to install Starlink. That’s where a non-penetrating roof mount comes in. Commonly known as a ridgeline mount, these mounts are held down with weights (sand bags, concrete blocks, etc.) instead of being fastened to the roof.
For installations on a roof ridge, check out the Starlink Ridgeline Mount Kit, pictured above. This official Starlink mount comes with everything needed, including the weights. It can be adjusted to any angle, and even works on flat roofs. For a more affordable aftermarket solution, check out this Amazon roof ridge mount. It doesn’t come with weights, but includes everything else needed for the Starlink Standard 4 and Standard 4 X antenna.
Non-Penetrating Roof Mount is good for: Situations where you don’t want to fasten to the roof structure or drill holes. You can easily move this mount around on the roof if you need flexibility in the future.
Might not be suitable for: This mount definitely stands out on your roof, as it will be held down with concrete blocks or other heavy items. Depending on how much weight you use, wind might be an issue since it is not fastened down.
Wall Mounts

#CommissionsEarned
Mounting the Starlink dish to your exterior wall is another good option to consider. If you don’t have tall trees to clear, a wall mount can be a good choice. With wall mounts, you don’t have to worry about drilling holes in your roof, and cable routing is a bit easier.
Starlink sells their own wall mount, pictured above. You can grab one at the Starlink shop. It’s a popular mounting option because it’s easy to install, available for nearly every type of Starlink antenna, and is affordable. Check out my Standard Wall Mount Review for more details.
You can also use the versatile J-Mount as a wall mount. Since J-Mounts are adjustable, they can be mounted to an exterior wall, eave, or fascia board.
Wall mount is good for: Installations where you don’t want to drill into the roof, and don’t have many obstructions nearby.
Might not be suitable for: If you have a large roof overhang, the official Starlink wall mounts might not work. Wall mounts aren’t ideal if you have tall trees or other obstructions.
Other Mounting Options
If none of the options above fit your needs, there are definitely other mounting methods to consider. Once you get past the basic roof and wall mounts, things tend to start getting custom. For example, you might need to install a 30 ft or 40 ft tower to clear tall trees. Or maybe you have an RV with a mast that you would like to install your Starlink dish on.
With virtually any other mounting solution, you’ll probably need Starlink’s Pipe Adapter accessory to adapt your Starlink to a custom, 3rd party mount.